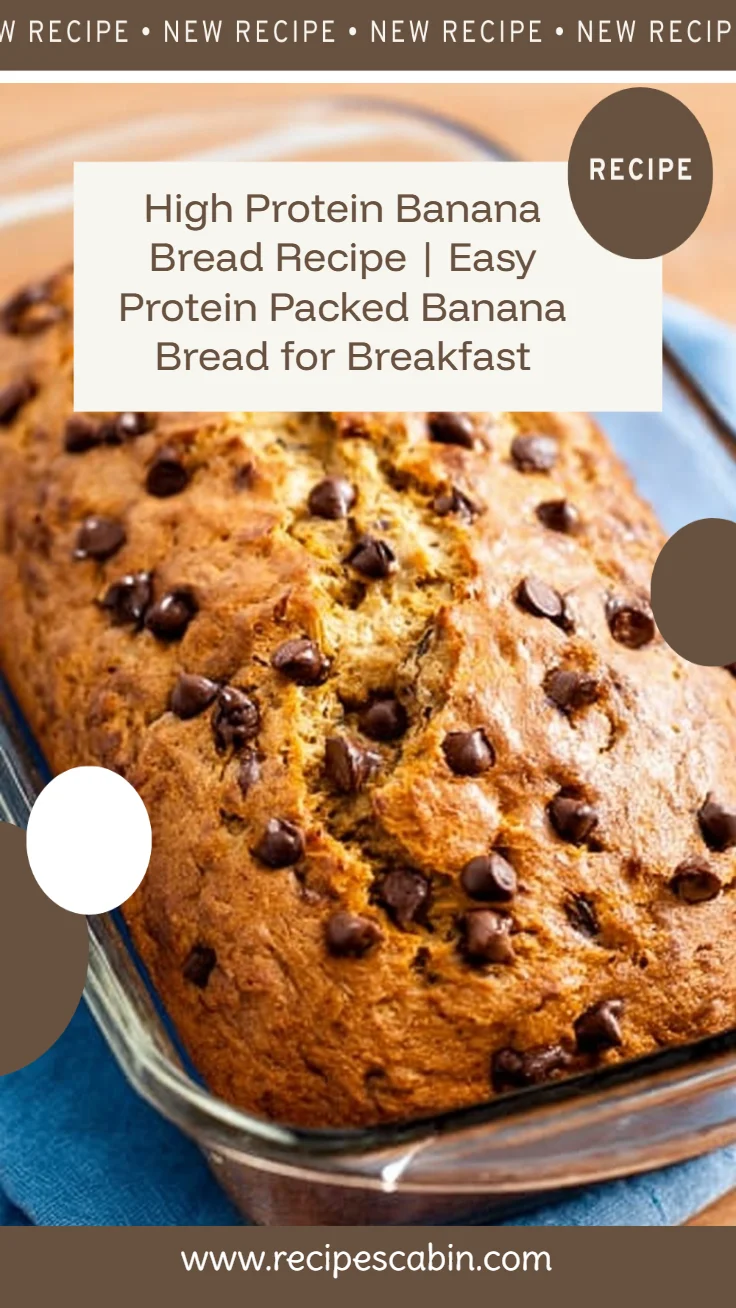
High Protein Banana Bread Breakfast Bread | High protein desserts, Protein baking, Healthy baking

I’m Carla Carter, founder and recipe developer of RecipesCabin, and I’m so glad you’re here. This High Protein Banana Bread Breakfast Bread is for anyone who wants a comforting, portable breakfast that also keeps you full longer — busy parents, people building a healthy habit, or anyone who wants a protein-forward twist on a classic. If you’ve felt nervous about baking with protein powder or worried banana bread might be dry or gummy, this recipe is approachable and forgiving. It’s a wonderful one to learn because the method is straightforward and the rewards are immediate: warm, fragrant slices that taste like a treat but fuel your morning.
If you enjoy learning multiple ways to get more protein into morning baked goods, I also recommend taking a look at my longer take on protein-packed morning breads for more ideas and inspiration: Fuel Your Day: The Ultimate High-Protein Banana Bread.
Why this recipe is easy to get right
This banana bread is forgiving for a few reasons. First, mashed bananas are a forgiving binder — as long as they’re ripe, they help keep the crumb moist even if other elements vary slightly. Second, the batter is thicker than a cake batter but not as dense as a cookie dough, so small mixing differences won’t wreck the texture. Third, protein-focused recipes usually tolerate a range of equipment: a hand mixer, stand mixer, or just a sturdy whisk will do.
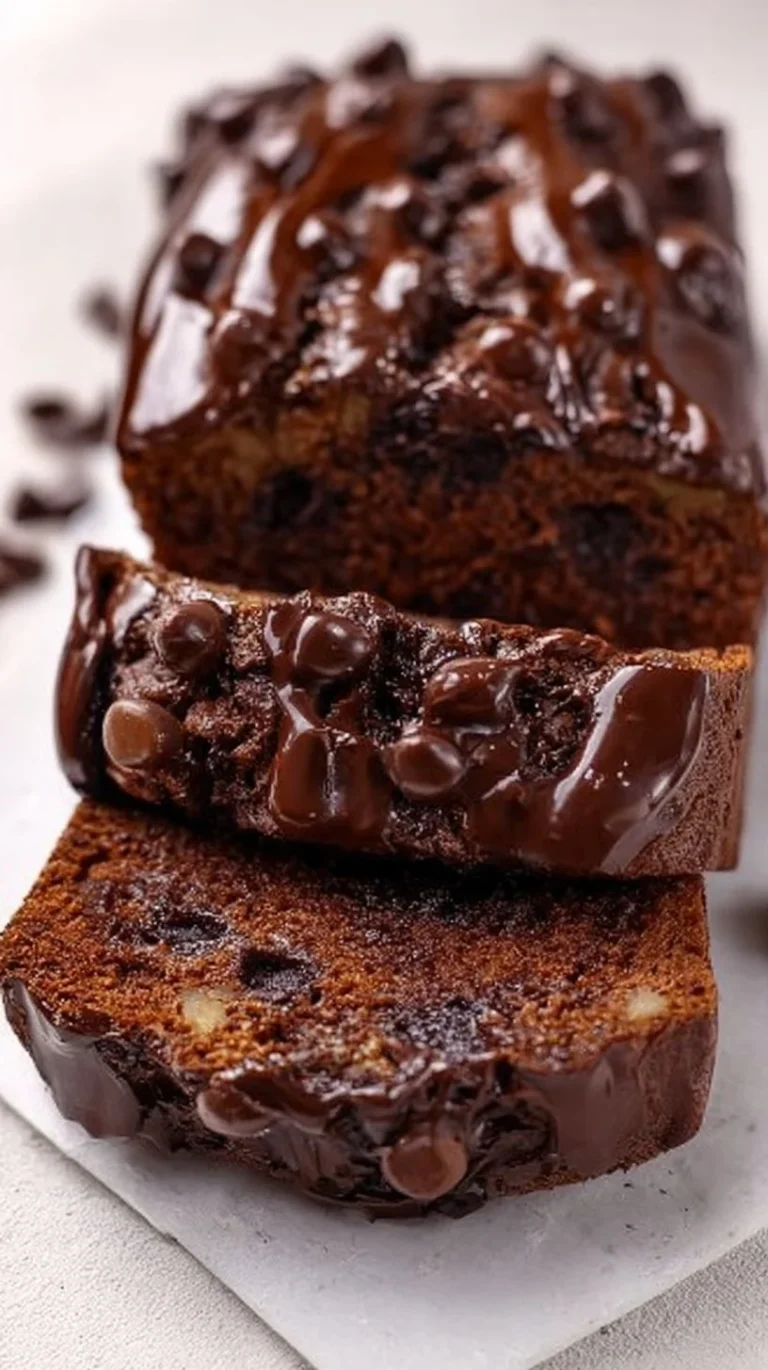
Flexibility shows up in where precision matters and where it doesn’t. For example, measuring flour by spooning it into a cup and leveling is better than scooping straight from the bag, but a little extra or a little less won’t ruin the loaf — it will only change the crumb slightly. Timing during baking matters more: an underbaked loaf will be too gooey, while a slightly overbaked one will just be firmer and still tasty. Because of these forgiving elements, this recipe is great for all skill levels, and if you’d like to explore other protein-bread ideas with different flavors and textures, check out this chocolaty option I developed alongside other favorites: High-Protein Chocolate Banana Bread.
How to make High Protein Banana Bread Breakfast Bread
At a glance, the process follows three clear stages: prepare, combine, and bake.
- Prepare: Preheat your oven and ready your pan. Get your bananas mashed and your wet and dry components measured and separated. This stage is about organization — when everything’s within reach, the mixing flows easily.
- Combine: You’ll bring wet ingredients and dry ingredients together, mixing just until everything is incorporated. The visual you’re after is a uniform batter with small flecks of banana and a slightly thick, pourable or scoopable texture. Overmixing at this stage can tighten the crumb, so mix gently.
- Bake and cool: Pour into the prepared pan, smooth the top, and bake until a toothpick or skewer near the center comes out mostly clean with a few moist crumbs. Allow the loaf to cool in the pan briefly, then transfer to a rack to cool completely or until warm enough to slice.
Beginners should slow down during preparation — measure clearly, mash bananas to an even texture, and take a moment to preheat the oven fully. These small pauses make the rest of the recipe run smoothly.
If you like variety in morning protein options, this method also translates well to other handheld breakfasts like my high-protein breakfast burritos — the rhythm of preparing, combining, and finishing is the same: High-Protein Breakfast Burritos.
Ingredients
Rather than listing exact amounts here, I’ll explain what each ingredient brings to this High Protein Banana Bread Breakfast Bread so you feel confident about their roles.
- Ripe bananas: They’re the flavor anchor and natural sweetener. Ripe bananas are soft and mashed easily; they add moisture and help bind the loaf without needing as much added fat.
- Protein powder: A protein boost that helps keep the loaf satisfying. Protein powder can change texture slightly, so this recipe balances it with wet ingredients to keep the crumb tender.
- Flour (all-purpose, whole-wheat, or a blend): Provides structure. Flour proteins form the network that holds the loaf together. Some recipes use a combination for nutrition and texture; this bread is designed so you don’t have to wrestle with specialty flours.
- Eggs: They add structure and help emulsify, giving lift and stability. If an egg gets cold, it mixes more smoothly if brought to room temperature, but it’s not a strict requirement.
- Fat (oil or butter): Keeps the crumb tender and prevents dryness. A neutral oil or melted butter both work; choose what you prefer.
- Leavening (baking soda/powder): These are the little lift-givers that make the bread rise. They’re measured to give a gentle, even rise.
- Sweetener (sugar, maple, or honey): Adds sweetness and can help with browning. Because bananas are already sweet, you can lean lighter on added sugar and still get a nicely caramelized top.
- Salt and vanilla: Salt brightens flavor; vanilla rounds it. Small amounts make a big difference in taste.
None of these ingredients are complicated or intimidating. They are common pantry items and they work together: bananas and wet ingredients keep things moist, flour and eggs give structure, protein powder boosts satiety, and leavening plus warmth from the oven make it rise into a tender loaf.
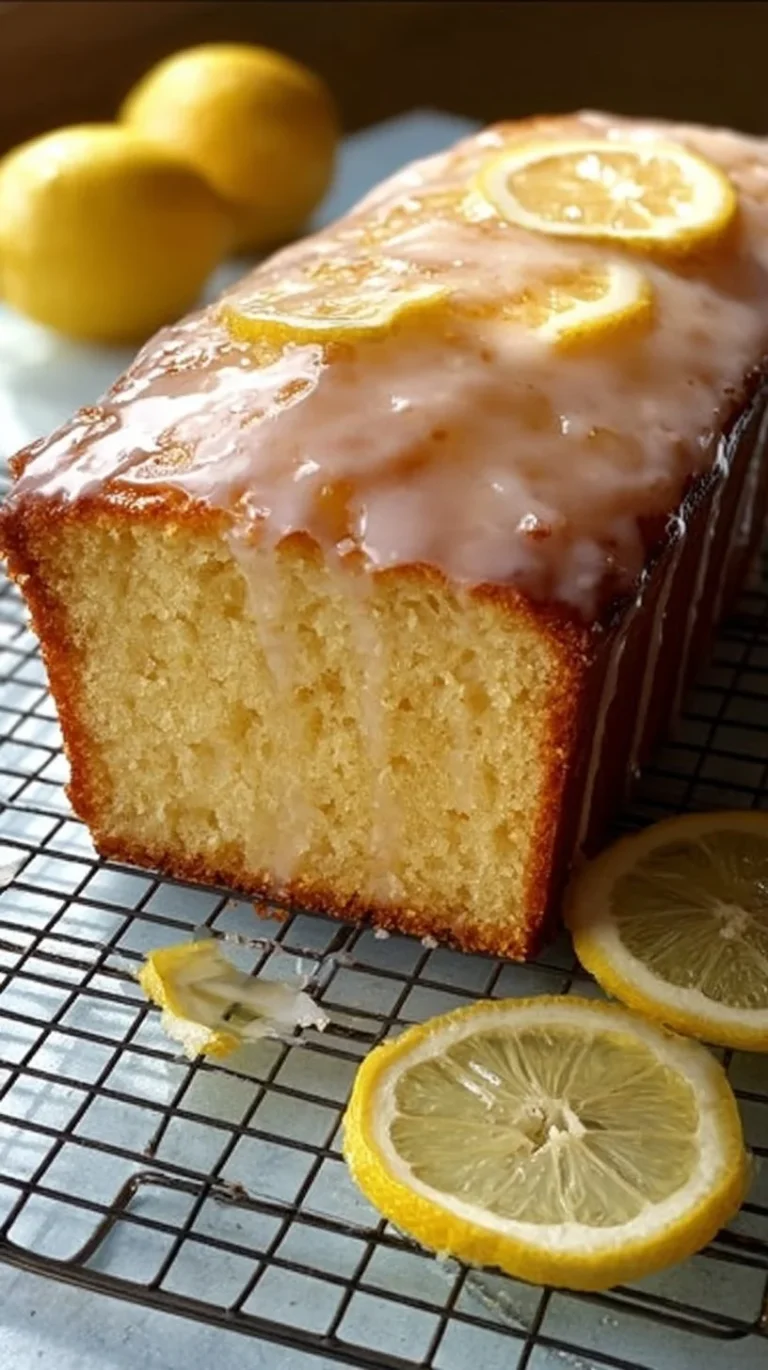
For more ideas on lemon-and-fruit style breakfast bakes that teach similar ingredient roles in a different flavor context, take a look at this recipe: High-Protein Lemon Blueberry Breakfast Bake.
Directions
I won’t rewrite the exact directions here, but I will walk you through the practical cues and supportive guidance you’ll want to use while following them.
- Mixing the wet ingredients: When you mash the bananas, aim for mostly smooth with a few small chunks so you still get bursts of banana in the crumb. If the bananas look lumpy or stringy, that’s okay — they’ll blend into the batter and add texture.
- Combining wet and dry: Stir until you no longer see streaks of flour. A few small pockets or specks are fine. Overmixing will make the loaf tight; stop once things are evenly moistened.
- Batter texture: The batter should be thicker than pancake batter but loose enough to spread into the pan with a spatula. If it’s very thick and dry-looking, that’s a sign to check that your wet ingredients were measured and combined correctly.
- Before baking: Smooth the top with a spatula and, if you like, press a few banana slices or nuts on top for a pretty finish. The surface should look even and slightly glossy.
- Baking cues: Look for a deep golden-brown top and edges pulling slightly away from the pan. Insert a toothpick or skewer near the center: it should come out with a few moist crumbs, not raw batter. If the skewer comes out wet, add a few extra minutes and check again.
- Cooling: Let the loaf cool in the pan for 10–15 minutes so it firms up and loosens from the sides. Then turn it out onto a wire rack to cool more — slicing too soon can make the crumb seem gummy because steam hasn’t finished escaping.
If something doesn’t look perfect — a sunken middle or a slightly uneven top — don’t worry. These are common and the loaf will still be delicious. Small imperfections are part of home baking.
Key techniques you’ll practice in this recipe
This recipe teaches a handful of useful, transferable skills:
- Mashing fruit for texture control: You’ll learn how smooth or textured mashed bananas affect crumb and moisture. This skill helps with muffins, pancakes, and quick breads.
- Gentle folding and mixing: Knowing when to stop stirring is important. You’ll practice folding until combined, preserving a tender crumb — a technique used in cakes, waffles, and more.
- Assessing batter consistency by sight and feel: Learning what a correctly mixed batter looks and feels like helps you adapt other recipes without confusion.
- Baking to cues rather than a strict time: Checking for color, edges lifting, and the toothpick test teaches you to trust visual and tactile signs over oven timers alone.
Each of these skills improves your instincts in the kitchen and will make future baking easier and less stressful.
Common mistakes and how to avoid them
Here are typical errors and the gentle fixes:
- Mistake: Overmixing the batter. Result: tight, chewy crumb. Fix: Stir just until the flour disappears — a few small streaks are okay.
- Mistake: Using underripe bananas. Result: bland flavor and less moisture. Fix: Use bananas with brown spots — the darker, the sweeter and more flavorful.
- Mistake: Baking at the wrong temperature or not preheating. Result: uneven rise or dense center. Fix: Always preheat the oven fully; place the loaf in the center rack for even heat.
- Mistake: Opening the oven frequently. Result: sinks or uneven rise. Fix: Resist peeking during the first 25–30 minutes; the oven needs steady heat to lift the loaf.
- Mistake: Slicing too soon. Result: gummy or slightly wet slices. Fix: Allow the loaf to cool at least 10–15 minutes, ideally more, before slicing to let steam settle.
If your loaf comes out denser than you hoped, don’t despair — it will still taste great. Use slightly thicker slices topped with nut butter or yogurt for a satisfying breakfast, and take notes for your next bake (a touch more leavening or a little lighter mixing can help).
How to adjust confidently without changing the recipe
You may want to scale the loaf, adjust flavors, or tweak textures without altering the given ingredients or steps. Here’s how to think about those changes conceptually:
- Portion scaling: If you want more or fewer loaves, think in terms of multiples. Doubling everything fills two pans, halving makes one smaller loaf. Baking times will change — larger pans will need more time, smaller pans less — and the toothpick test remains your guide.
- Flavor adjustments: To nudge flavor without changing steps, add mix-ins or toppings within the same mixing stage: a handful of chopped nuts or a sprinkle of cinnamon on top before baking. These add flavor and texture without changing the chemistry.
- Texture tweaks: Want a moister or firmer crumb? The balance of wet to dry controls that. Conceptually, more mashed banana or a touch more fat yields a moister result; slightly less liquid or a little extra flour yields a firmer slice. Small shifts are all you need, and you can record results for next time.
These adjustments let you personalize the loaf while keeping the reliable structure of the recipe intact.
Serving, storage, and reheating made simple
Serving: Slice and serve warm or at room temperature. A smear of nut butter, a spoonful of Greek yogurt, or a thin spread of butter are classic and simple. For a balanced breakfast, pair a slice with fruit and a hot cup of tea or coffee.
Storage: Cool completely before storing. Wrapped tightly in plastic or in an airtight container, the loaf will stay fresh at room temperature for 2–3 days. For longer storage, slice and freeze individual pieces separated by parchment in a freezer-safe bag for up to 2 months.
Reheating: To revive a slice, microwave for 15–25 seconds (depending on thickness) for a warm, soft slice. For better texture, toast thin slices on a toaster oven or under a broiler briefly until warmed and slightly crisp at the edges — it brings back a pleasant contrast between warm interior and firmer edges.
Questions new cooks often ask about this recipe
Q: How ripe should the bananas be?
A: Very ripe — lots of brown spots or fully brown skins are ideal. They mash easily and add natural sweetness.
Q: Can I use any protein powder?
A: Most protein powders will work, but expect slight differences in texture. Whey tends to be smooth, plant-based powders sometimes absorb more liquid; the cues in the Directions section will help you adjust by feel.
Q: My loaf is browning too fast — what then?
A: Tent it loosely with foil halfway through baking to prevent over-browning while the center finishes baking.
Q: Is a sunken center normal?
A: A slightly lower center can happen if the loaf is taken out too early or if the oven temperature was too high. If it’s slightly sunken but set, it’s still delicious.
Q: Do I need special equipment?
A: No. A standard loaf pan, mixing bowls, and a spatula or mixer are all you need. The recipe is designed to work with basic kitchen tools so it’s approachable for beginners.
Final encouragement from Carla
Baking is as much about learning as it is about eating. This High Protein Banana Bread Breakfast Bread is forgiving and kind to beginners, and each loaf you make builds confidence. Small imperfections are part of the process — they don’t mean failure. Celebrate the aroma, the warmth, and the fact that you made something nourishing from simple ingredients. Keep notes, try small adjustments, and know that every attempt teaches you something new. You’re doing great in the kitchen.
Conclusion
If you enjoy protein-forward banana bread and want to explore related twists, one helpful variation to check out is High-Protein Banana Bread Baked Oatmeal by Hannah Magee RD, which adapts similar flavors into a breakfast bake. For a chocolatey spin that uses protein powder in a richer loaf, take a look at Easy Chocolate Banana Bread with Protein Powder by Liv B. These will give you more ideas to play with while keeping the same gentle, reliable techniques you’ve practiced here.
Final note: trust the process and enjoy each step — the kitchen is a place to learn slowly and delightfully.

High Protein Banana Bread Breakfast Bread
Ingredients
Method
- Preheat your oven to 350°F (175°C) and prepare a loaf pan.
- Mash the ripe bananas in a bowl until mostly smooth with a few chunks for texture.
- Measure out all your dry ingredients (flour, protein powder, baking soda, baking powder, salt) and wet ingredients (mashed bananas, eggs, oil, vanilla) separately.
- In a large bowl, combine the wet ingredients and mix gently.
- Gradually add in the dry ingredients until just combined, making sure not to overmix.
- The batter should be thick but pourable. Aim for a uniform texture with some banana flecks.
- Pour the batter into the prepared loaf pan, smoothing the top with a spatula.
- Optional: Press banana slices or nuts on top for garnish.
- Bake in the preheated oven for about 60 minutes or until a toothpick inserted in the center comes out mostly clean.
- Let the bread cool in the pan for 10–15 minutes before transferring to a wire rack.