Raw Chocolate Brownies
Raw Chocolate Brownies are the kind of recipe I reach for when I want something that tastes indulgent but doesn’t leave the kitchen feeling heavy. They come together quickly, rely on whole-food ingredients, and serve well as an afternoon pick-me-up, a light dessert after dinner, or a small treat to pack into lunches. Because they don’t require baking, the texture stays dense and chewy — very satisfying — without the warm, oven-baked heaviness that can make a treat feel like a full meal.
These brownies fit neatly into weeknight routines where time and energy are limited. They’re approachable for home cooks of any skill level and useful when you want to make several portions at once for the fridge or freezer. If you enjoy chocolate-forward recipes that balance richness with simplicity, you might also appreciate the way a chocolate spice cake plays with spice and texture, or how classic baking techniques show up in favorites like the perfect chocolate chip cookie — both remind me that thoughtful ingredients and simple methods give you the most satisfying results.
How this recipe fits into a balanced lifestyle
This recipe supports moderation and enjoyment by focusing on concentrated flavor and mindful portions. A dense, chewy brownie made from dates and walnuts gives you rich chocolate taste in small bites, which helps the dessert feel satisfying without encouraging overindulgence. That’s not about restriction — it’s about designing a treat that delivers what you want (deep chocolate, a pleasant chew, a little bitterness from cocoa) so you can enjoy one or two squares and feel content.
It feels lighter because the preparation keeps things raw and unbaked, preserving texture and brightness from whole ingredients rather than layering on heavy creams or refined flours. The combination of natural sweetness from medjool dates and cocoa’s complexity makes each bite feel complete. In a varied weekly routine, these brownies work as a make-ahead snack, a lunchbox addition, or a post-meal bite when you want dessert without a lengthy recipe or cleanup. If you like chocolate treats that land cleanly on the palate, consider how this approach mirrors other recipes that balance richness with restraint—like the balanced flavor profiles in classic cookie recipes.
How to make Raw Chocolate Brownies
Overall flow: this is a simple two-step structure — blend the base into a sticky dough, press it into a pan, then top with a quick melted chocolate layer and chill to set. The parts that matter most are processing until everything binds evenly and pressing the base firmly so the final slices hold together. Simplicity matters in the food processor: pulse thoughtfully rather than overworking, and keep the optional nut chunks to the end so you preserve texture.
Approach the recipe without overthinking it by setting up your station first: line the pan, measure your walnuts and dates, and have the topping ingredients ready. The recipe is forgiving — small timing differences in the processor won’t ruin it — but aim for a cohesive dough that holds when pressed. Finally, chilling is part of the build: allow the brownies at least an hour to firm up so the slices are clean and the chocolate topping sets smoothly.
Ingredients
2 cups raw unsalted walnuts, 2 cups packed pitted medjool dates, 1/3 cup walnuts (optional, if you want some walnut chunks) , 1/2 cup cocoa powder, 1 tsp vanilla extract, pinch of salt, 1/4 cup coconut oil, 1/3 cup cocoa powder, 1/4 tsp vanilla extract, 2 tbsp maple syrup
- 2 cups raw unsalted walnuts: The walnuts provide the structural body and a toasty, slightly bitter base note that balances chocolate. They also add healthy fats and a satisfying chew when processed into the dough.
- 2 cups packed pitted medjool dates: Dates are the sweetener and binder here. Because they’re naturally sticky, they create the chewy, brownie-like texture without any refined sugar.
- 1/3 cup walnuts (optional, if you want some walnut chunks): These are for texture contrast. Tossing them in near the end gives you pleasant walnut pieces without turning the whole mixture into a paste.
- 1/2 cup cocoa powder: This is the main chocolate flavor in the base — responsible for the deep, slightly bitter notes that make the dessert feel grown-up.
- 1 tsp vanilla extract: Vanilla lifts the cocoa and rounds the flavor so the result feels balanced instead of flat.
- pinch of salt: Salt sharpens chocolate’s sweetness and makes flavors pop.
- 1/4 cup coconut oil: Used in the topping to help melt and set the chocolate smoothly; it also adds subtle richness without making the brownies greasy.
- 1/3 cup cocoa powder (for topping): A second measure of cocoa in the topping deepens chocolate intensity and ensures the top has a cohesive, glossy finish when mixed with melted chocolate or coconut oil.
- 1/4 tsp vanilla extract (for topping): A small amount to carry the flavor through the chocolate layer.
- 2 tbsp maple syrup: Adds balance and a touch of sweetness to the topping so it isn’t overly bitter; maple pairs well with walnut and cocoa.
Keeping the ingredient list simple and purpose-driven helps the finished dessert feel light: each item plays a clear role in flavor, texture, or structure, so you’re not adding extras to chase missing elements.
Directions
Line an 8×8-inch pan with parchment paper and set aside. (Alternatively, use a mini silicone muffin pan for two-bite brownies.), In a food processor, pulse the 2 cups of walnuts, medjool dates, cocoa powder, vanilla, and salt until a sticky dough forms. Scrape down the sides as needed. If using the optional 1/3 cup of walnuts for chunks, add them now and pulse just a few times to incorporate., Press the mixture firmly into the prepared pan, smoothing the top with your hands or a spatula. If using a mini muffin pan, press a spoonful of the mixture into each well and flatten the tops., Melt the dark chocolate with coconut oil in the microwave or over a double boiler until smooth. Pour the melted chocolate over the brownies and spread evenly., Place in the fridge or freezer for at least 1 hour to set., Remove from the pan and slice into squares (or pop out of the muffin pan). Store in the fridge for up to 1 week or in the freezer for up to 3 months.
Supportive guidance around the steps:
- What to look for as you cook: In the food processor you want a uniform, slightly sticky mass that holds together when pressed between your fingers. If you see large dry bits of walnut, scrape and pulse a few more times. If it becomes overly oily, it’s likely been overprocessed — stop and press it into the pan; the consistency usually pulls back together when chilled.
- How to avoid overcomplicating the process: Use the optional chunk walnuts sparingly and only at the end so the base stays cohesive. Don’t worry about exact timing in the processor; judge by texture. Melting the topping slowly prevents seizing — if using a microwave, heat in short intervals and stir between each.
- Signs the dish is coming together properly: When pressed into the pan, the mixture should form a solid layer that doesn’t crumble apart. The melted chocolate should spread into an even gloss and set to a firm, slightly snap-able top after chilling.
The role of preparation in keeping this dish light
Preparation here matters more than elaborate technique. Because this is a no-bake recipe, you’re relying on ingredient behavior rather than oven chemistry. That means:
- Processing with intention: Pulsing helps maintain texture and prevents nuts from turning into too-smooth a paste. A little texture goes a long way toward satisfaction.
- Pressing firmly: Compacting the base ensures each square is small but substantial, which encourages mindful portions without feeling skimpy.
- Chilling properly: Setting the chocolate layer and the base in the refrigerator or freezer gives you clean slices and a firm mouthfeel — this avoids the melt-in-your-hand mess that tempts you to eat more to feel satisfied.
Technique here is straightforward but important: small choices — how long you pulse, how firmly you press, how long you chill — shape whether a bite feels like a snack or like an overly rich experience.
Simple ways to adjust without losing balance
You can personalize these brownies without changing the core recipe by focusing on small, flavor-forward swaps:
- Texture tweaks: If you prefer more chew, add a few extra chopped dates; if you like more crunch, fold in a sprinkling of toasted seeds on top before the chocolate sets. These are conceptual adjustments — not changes to the recipe itself — that preserve the balance.
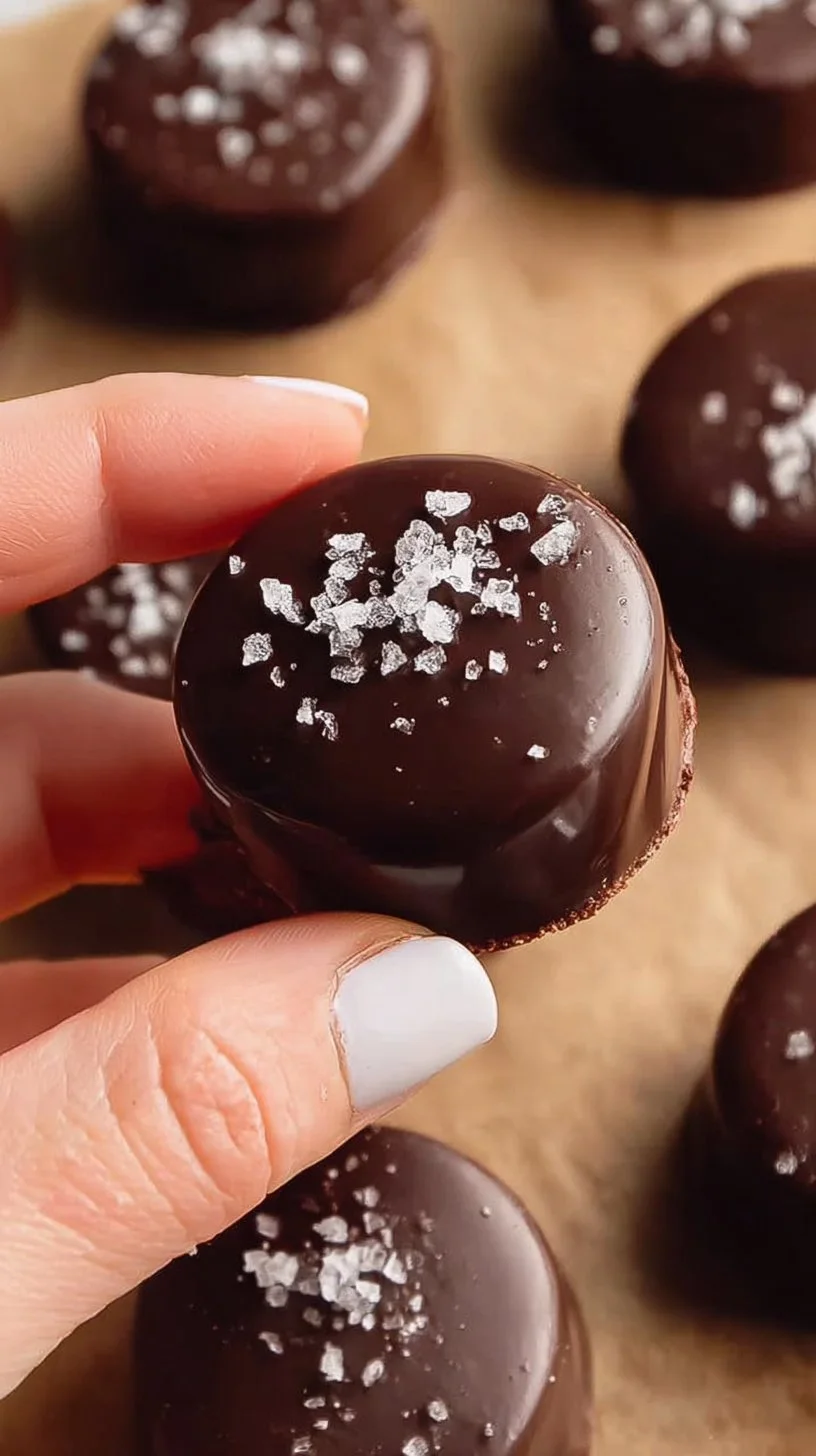
- Flavor accents: A tiny sprinkle of flaky sea salt on the chocolate layer heightens contrast and makes each bite more satisfying. Similarly, a pinch of cinnamon or espresso powder in the base can deepen flavor without adding heaviness.
- Occasion-based options: For a party, press the mixture into a larger pan and cut smaller squares so people can taste without overdoing it. For a simple afternoon treat, use the mini muffin option to serve tidy two-bite portions.
All of these ideas keep the core recipe intact; they’re about amplifying what’s already there instead of replacing it.
Pairing ideas for a complete, well-rounded meal
These brownies work best paired with light, fresh elements that balance their density:
- A small bowl of Greek yogurt with a drizzle of honey and a few fresh berries provides creaminess and acidity to offset the chocolate.
- A green salad with citrus segments and toasted nuts offers a savory contrast if you serve the brownies as part of a brunch or light dessert spread.
- For beverage pairings, try a tall glass of cold almond milk or a cup of bright coffee — both cut through richness and refresh the palate.
Think in terms of contrast and proportion: pair one or two small squares with something airy or acidic to complete the experience without adding excess.
Storage, leftovers, and next-day enjoyment
These brownies store very well because of their dense, low-moisture structure:
- Fridge: Keep in an airtight container for up to 1 week. They’ll be firm and slice cleanly; bring to room temperature for 10–15 minutes before serving if you prefer a softer texture.
- Freezer: Freeze in a single layer on a tray until solid, then transfer to a sealed container for up to 3 months. Thaw in the fridge or on the counter for a few minutes before eating.
- Reheating tips: These aren’t meant to be heated like a baked brownie. If you like a softer bite, let them sit at room temperature; a very brief microwave zap (5–7 seconds) can make them silkier, but watch closely to avoid melting the chocolate layer.
Leftovers are actually a benefit here: chilling tightens texture and often improves the mouthfeel after a day or two.
Common questions about lighter everyday cooking
- How many pieces should I serve? Aim for small portions — one to two squares per person — since these are rich and concentrated. That supports balance without feeling restrictive.
- Can I make these ahead for the week? Absolutely. They’re ideal for batch prep and keep well in the fridge or freezer for future snacks or dessert.
- How do I keep meals varied while repeating recipes like this? Rotate pairings and portion sizes: serve a single square with fruit one day, two small squares with yogurt another, or mini brownie bites for a weekend treat. Small changes in presentation and sides keep repetition from feeling boring.
- How do I make lighter meals feel satisfying? Combine concentrated flavor (like these brownies) with fresh, high-contrast components — herbs, citrus, crisp vegetables, or a tangy yogurt — so each plate balances richness and lift.
Final thoughts from Daniel
This Raw Chocolate Brownies recipe is one of those everyday tools in the kitchen that rewards a little attention with a lot of satisfaction. It’s simple to prepare, stores well, and gives you a chocolate fix that feels intentional rather than excessive. Cook it with calm, press the base firmly, and trust that the natural sweetness and texture will deliver what you want: a small, satisfying bite that supports your week rather than overwhelming it.
Remember: balance is flexible. A recipe like this earns a regular spot not because it promises perfection, but because it’s reliable, flavorful, and easy to fit into real life. Make it your own in small ways, enjoy it mindfully, and let it be one of many dishes that help the week feel steady and nourishing.
Conclusion
If you’re curious to see other takes on these types of treats, I find it useful to compare variations and techniques; for example, Raw Chocolate Brownies (vegan & gluten-free) – Love, Chef Laura highlights a similar raw approach with slight twists on texture and sweetness. For a broader look at raw brownie styles and ingredient ideas, check out Raw Brownies with Chocolate (Vegan, Paleo) | Nutrition Refined.

Raw Chocolate Brownies
Ingredients
Method
- Line an 8×8-inch pan with parchment paper and set aside.
- In a food processor, pulse the walnuts, medjool dates, cocoa powder, vanilla extract, and salt until a sticky dough forms.
- If using, add the optional walnuts for chunks and pulse a few times to incorporate.
- Press the mixture firmly into the prepared pan, smoothing the top.
- Melt the dark chocolate with coconut oil in the microwave or over a double boiler until smooth.
- Pour the melted chocolate over the brownies and spread evenly.
- Chill in the fridge or freezer for at least 1 hour to set.
- Remove from the pan and slice into squares (or pop out of a mini muffin pan).