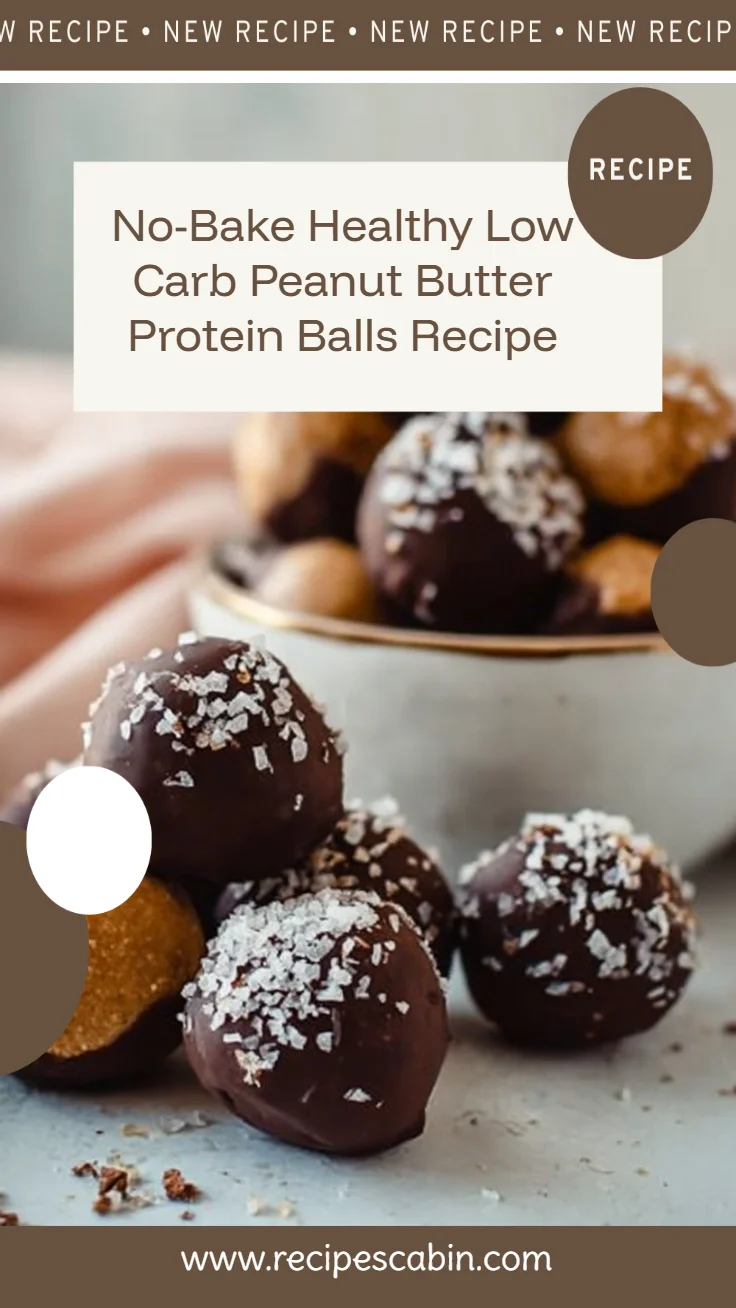
No-Bake Peanut Butter Protein Balls
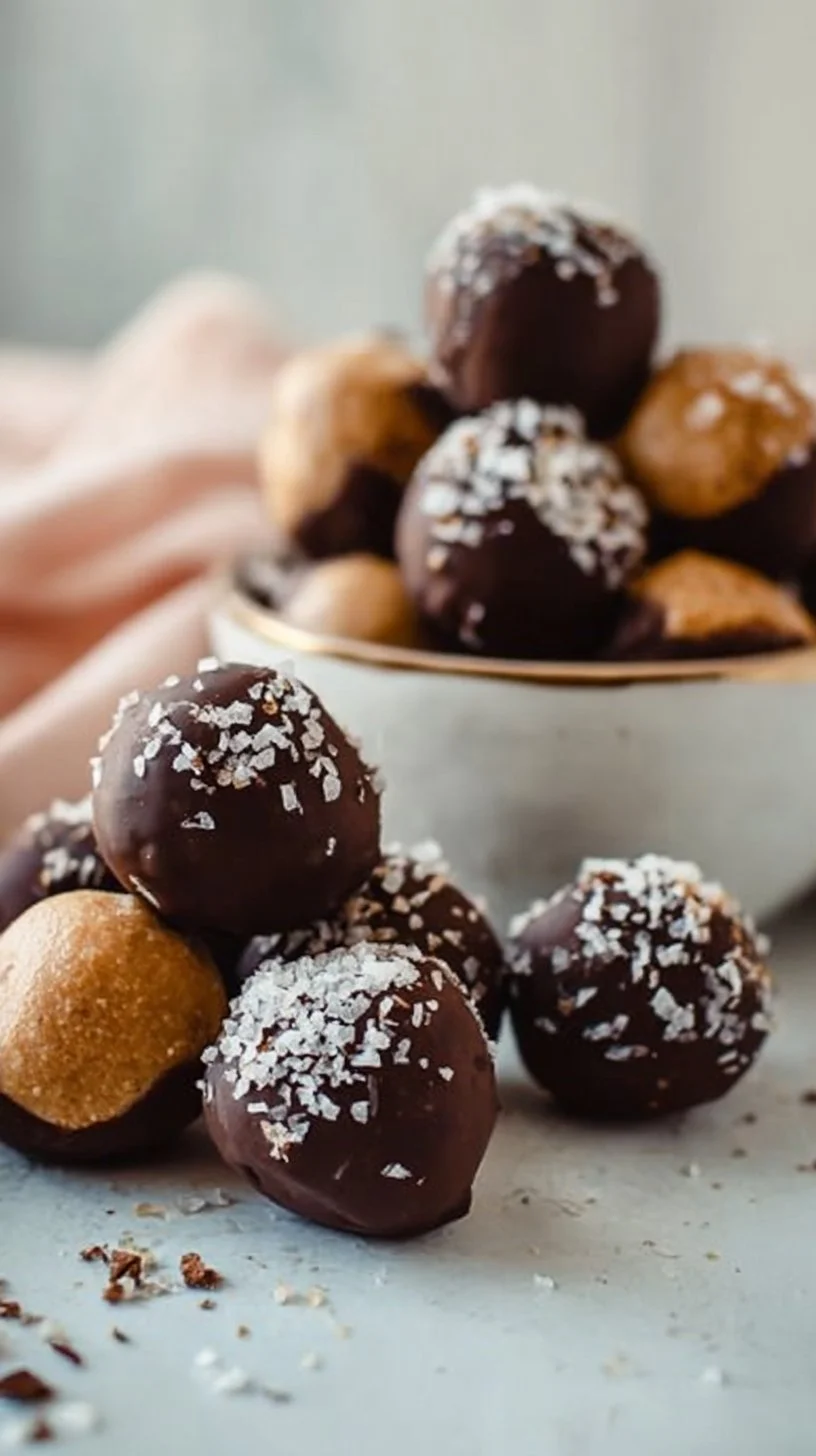
These No-Bake Peanut Butter Protein Balls are one of those recipes that quietly solve a dozen small kitchen problems: you want something tasty in the afternoon, you need a quick addition to a packed lunch, or you’d like a familiar, comforting little snack that won’t weigh you down. They’re straightforward to pull together in a single bowl, and they sit comfortably in a weeknight routine because they store well and require no oven time.
If you like the idea of portable, protein-forward bites but prefer something cool and slightly chewier, these balls pair well with other make-ahead snacks like high-protein frozen peanut butter Greek yogurt bites, offering a contrasting texture and a chilled option for hotter days. I think of these protein balls as a simple way to keep your pantry approachable: one measuring bowl, a few turns of the wrist, and you’ve got an honest snack that respects both flavor and convenience.
How this recipe fits into a balanced lifestyle
This recipe supports a balanced approach to eating because it focuses on satisfying ingredients rather than strict rules. Peanut butter offers fat and familiar flavor, protein powder adds a concentrated protein boost, and oats or nuts bring a touch of chew and whole-food texture. Together they make a small but filling bite that can bridge the gap between meals without overwhelming your appetite.
Because these balls are small and portioned by hand, they naturally encourage moderation. They’re not framed as a “diet” solution — they’re simply convenient, nourishing, and pleasant to eat. If you already enjoy chilled snacks, they complement items like frozen Greek yogurt peanut butter bites nicely, letting you rotate textures and temperatures through the week so nothing feels monotonous. In a varied weekly routine they slot in as a snack, a pre- or post-workout nibble, or an extra for a lunchbox.
How to make No-Bake Peanut Butter Protein Balls
The overall flow of this recipe is deliberately simple: combine, mix, roll, chill, enjoy. There’s no precise baking time to worry about, no fancy equipment to assemble. The most useful mindset while making these is to trust your hands and keep the steps small — this is not a time to overthink ratios beyond what the recipe gives.
Simplicity matters most where texture is concerned. A light, slightly sticky peanut butter base combined with dry protein powder and a small amount of oats creates structure without becoming dense. Let the mixture rest in the fridge to firm up; that short chill does a lot of work to make the finished balls feel cohesive and satisfying without being heavy. If you approach this with calm, practical steps, you’ll be finished in under 10 minutes of hands-on time.
Ingredients
1 cup peanut butter, 1/2 cup protein powder, 1/4 cup sweetener (like honey or a low-carb option), 1/4 cup rolled oats or crushed nuts, 1 teaspoon vanilla extract, A pinch of salt
Each ingredient here plays a clear role:
- Peanut butter: The flavor anchor and source of healthy fats, creaminess, and a touch of natural sweetness. It binds the mixture and gives the balls their familiar, comforting taste.
- Protein powder: A concentrated protein source that dries and firms the mixture slightly, helping the balls hold their shape while boosting satiety. Different powders (whey, plant-based, etc.) will shift the mouthfeel a bit, so consider what you prefer.
- Sweetener: Honey or a low-carb option adds cohesion and a balanced sweetness that keeps the snack tasting like a treat rather than a supplement. It also softens the texture slightly so the balls aren’t chalky.
- Rolled oats or crushed nuts: These provide chew and a grainy counterpoint to the smooth peanut butter. Oats keep the texture grounded and slightly chewy; crushed nuts add crunch and a more complex mouthfeel.
- Vanilla extract: A small addition that rounds out flavor and enhances the perception of sweetness without adding sugar.
- Salt: A pinch sharpens the overall profile and prevents the bite from tasting flat.
Using straightforward, high-quality ingredients is the easiest way to make every bite feel composed and satisfying. You’re achieving balance through combination — fats, protein, a little carbohydrate — rather than restriction.
If you like the peanut butter and oat combination, these peanut butter oat cups explore a similar balance with a slightly different form and texture.
Directions
- In a mixing bowl, combine peanut butter, protein powder, sweetener, rolled oats (or nuts), vanilla extract, and salt., 2. Mix until well combined., 3. Roll the mixture into bite-sized balls., 4. Place the balls on a plate and refrigerate for 30 minutes to set., 5. Enjoy as a snack or treat!
Before you start, set a clear workspace and have a plate or tray nearby for the finished balls. When you combine the ingredients, you’re looking for a homogeneous mixture — no streaks of dry powder and no big globs of peanut butter. If the mix seems too dry, a touch more sweetener or a teaspoon of water can help, but only a little, since the goal is a firm-but-tender texture.
As you mix, aim for a pliable dough. The oats or nuts should be evenly distributed. When rolling, keep your balls roughly the same size for consistent chilling — walnut-sized is a practical target if you want a compact snack. The 30-minute refrigeration step is important: it lets the flavors meld and the fats firm up so the exterior isn’t overly tacky. Once chilled, test one for texture; it should be tender but hold together when bitten.
If you’re preparing these ahead of time, arrange them in a single layer to set and then transfer to an airtight container. Avoid letting them sit out at room temperature too long in warm conditions because the peanut butter can soften and change mouthfeel.
The role of preparation in keeping this dish light
Preparation choices here — mixing by hand, using minimal liquid, and a brief chill — all shape how light or heavy the final snack feels. There’s a difference between dense, overeager compacting and a gentle combining that retains a bit of air and chew in the oats. A light touch keeps the balls from becoming brick-like.
Technique also matters: evenly distributing ingredients prevents pockets of powder or overly oily areas, so each bite is balanced. The refrigeration step is essential because it changes texture without adding anything more — chilling firms the fats and binds the mixture naturally. These small decisions make the snack feel intentionally crisp and approachable rather than weighed-down.
Finally, portion control during preparation — rolling smaller bites rather than a few large ones — helps the snack feel lighter while still being satisfying. You get the sense of a treat without committing to a large portion that detracts from the rest of the meal plan.
Simple ways to adjust without losing balance
There are plenty of tasteful ways to personalize these balls while keeping the recipe’s balanced spirit intact, but it’s important not to treat those ideas as instructions to change the base ingredients or steps. Conceptually, you can:
- Shift texture by choosing rolled oats for chew or finely crushed nuts for a bit more crunch. Both maintain the same calorie density but alter mouthfeel.
- Experiment with different protein powders for subtle flavor shifts — a vanilla whey will make them sweeter and smoother, while a plant blend may add earthier notes.
- Swap the sweetener type to suit preference (honey for floral sweetness, a low-carb sweetener for less sugar) without changing the amount.
- Add a light coating of unsweetened cocoa powder or a sprinkle of toasted seeds on the outside after rolling to add contrast without changing the internal balance.
All of these tweaks respect the recipe’s original structure: the goal is to refine flavor and texture, not to make the snack heavier or overly complicated.
Pairing ideas for a complete, well-rounded meal
Think of these bites as one component of a simple, balanced plate rather than the whole meal. They pair nicely with:
- Fresh fruit: apple slices, a handful of grapes, or a citrus segment add brightness and hydration to cut through the peanut butter richness.
- A small portion of plain Greek yogurt or cottage cheese for extra protein and a cool, tangy counterpoint.
- Raw or lightly steamed vegetables for crunch and volume without heaviness — carrot sticks, cucumber slices, or bell pepper strips work well.
- A grain-based side like a small serving of quinoa salad or whole-grain crackers if you want something more savory.
Combining different textures — creamy, crunchy, crisp — helps the meal feel satisfying even if the overall calorie load stays moderate. The goal is variety and completeness rather than excess.
Storage, leftovers, and next-day enjoyment
These balls keep very well in the refrigerator for about one week when stored in an airtight container. If you make a larger batch, you can freeze them for up to two months — lay them out in a single layer until firm, then transfer to a freezer-safe container with parchment between layers to prevent sticking.
When you’re ready to eat frozen balls, let them thaw in the fridge for a few hours or sit at room temperature for 10–15 minutes. Thawing gently preserves the texture; microwaving is unnecessary and can make them oily. If the peanut butter firms considerably in very cold conditions, give them a short rest at room temperature to soften slightly before serving.
For lunchboxes or on-the-go, pack them in a small, insulated container with an ice pack in warm weather. They travel well and hold their shape if chilled properly before packing.
Common questions about lighter everyday cooking
How many of these should I eat at once? Portion needs vary, but these are designed as small, concentrated snacks. One to three balls is a reasonable portion depending on your appetite and the rest of the meal.
Can I make them nut-free? The recipe relies on peanut butter for flavor and texture, so consider a seed butter (like sunflower seed butter) if you need a nut-free alternative — but keep in mind that it will change flavor and possibly texture.
Will the protein powder make them chalky? The type of protein powder affects mouthfeel. If you find a powder chalky, try a different base (whey concentrates are typically smoother; some plant blends benefit from a touch more sweetener or fat to balance them). Mixing thoroughly prevents dry pockets that can feel chalky.
How do I keep variety in my weekly meals? Simple rotation is key. Use these balls alongside a few other snack options — some chilled, some fresh, some with more savory profiles — so you’re not relying on one texture or flavor all week. Planning small shifts in sides and pairings keeps repetition feeling intentional, not boring.
Final thoughts from Daniel
These No-Bake Peanut Butter Protein Balls are a practical reminder that simple cooking can be satisfying without being fussy. They’re forgiving, fast, and built on familiar flavors so you can make them without a long ingredients list or a lot of thinking. The small refrigeration step is the quiet secret that makes them feel finished rather than improvised.
Cooking like this — thoughtful, gentle, and flexible — is what I recommend for everyday balance. Let your pantry staples do the work, trust your hands to form the bites, and rotate pairings through the week so each snack still feels like a little pleasure. If you make them often, they’ll become one of those reliable go-to items that support a busy day without asking for too much from you.
Conclusion
If you want another version that leans into classic peanut-butter-and-protein flavoring, this No-Bake Peanut Butter Protein Balls – Just a Taste recipe offers a similar approach with a slightly different ratio and presentation. For a plant-forward spin and flavor variations, consider this No-Bake Protein Balls Recipe – Love and Lemons which highlights a range of inclusions and mix-ins. And if you’re curious about a broader category of no-bake energy bites, this No-Bake Energy Bites Recipe – Allrecipes collects a few classic ideas that can inspire small, balanced tweaks for your own batch.

No-Bake Peanut Butter Protein Balls
Ingredients
Method
- In a mixing bowl, combine peanut butter, protein powder, sweetener, rolled oats (or nuts), vanilla extract, and salt.
- Mix until well combined.
- Roll the mixture into bite-sized balls.
- Place the balls on a plate and refrigerate for 30 minutes to set.
- Enjoy as a snack or treat!