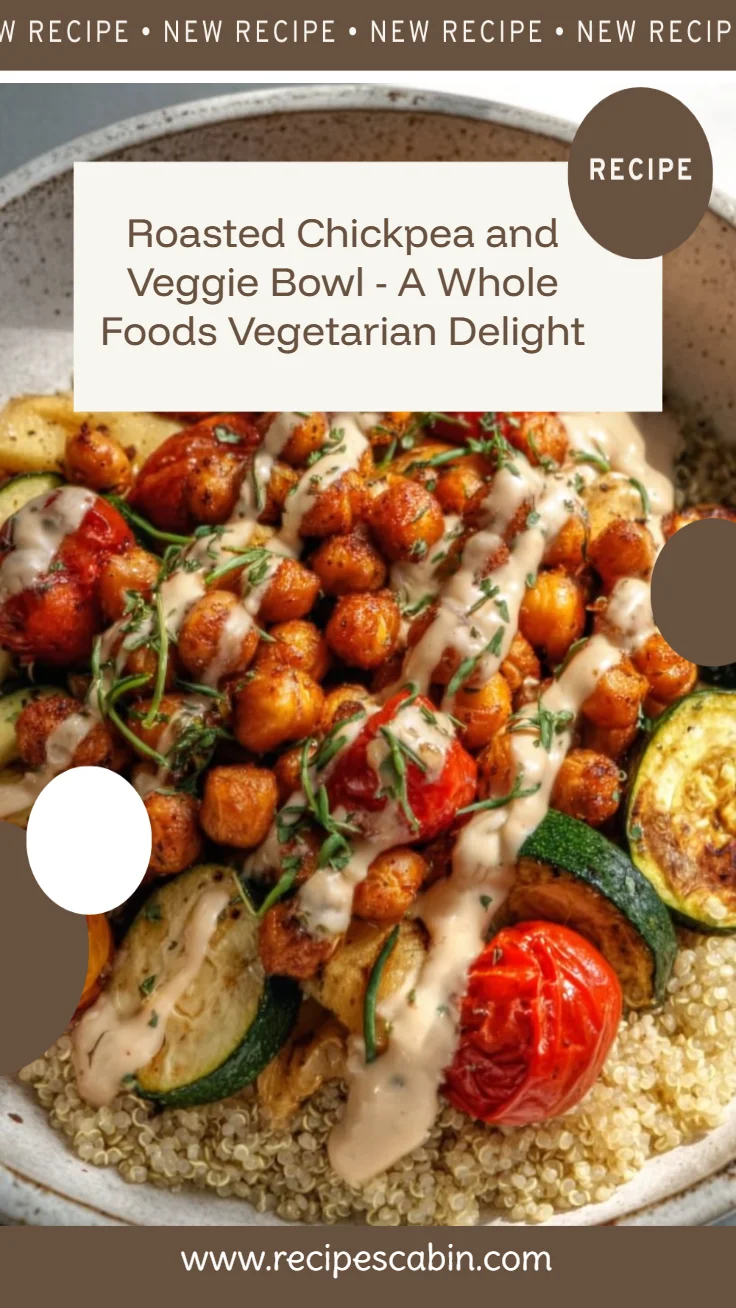
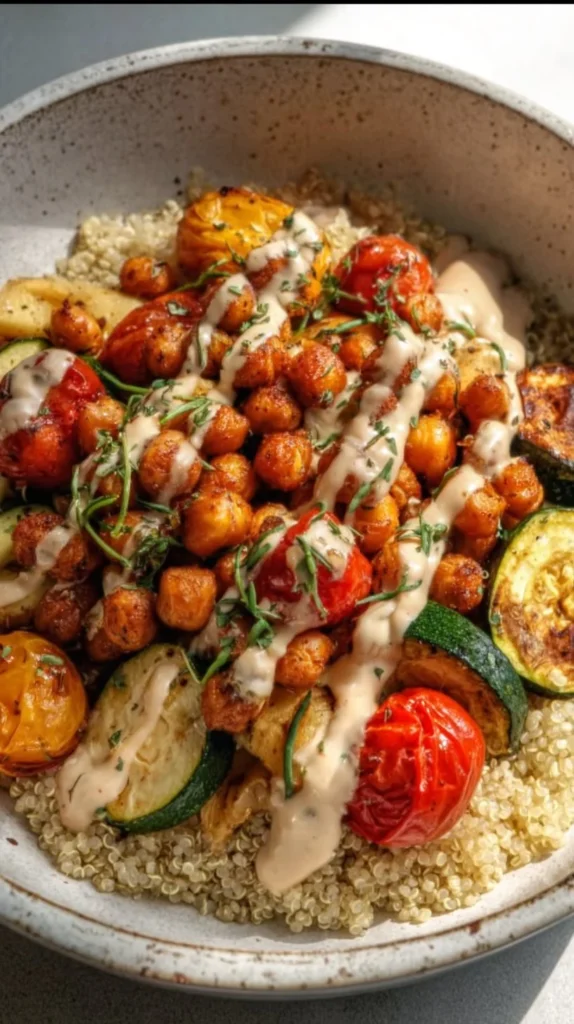
Roasted Chickpea and Veggie Bowl

If you’re looking for a simple, nourishing weeknight meal that won’t make you nervous in the kitchen, this Roasted Chickpea and Veggie Bowl is for you. I’m Carla Carter, Founder & Recipe Developer of RecipesCabin, and I want you to know this bowl was designed to be approachable, forgiving, and satisfying — even if you’re still learning the basics. It’s the kind of recipe that teaches reliable, repeatable habits without demanding perfection.
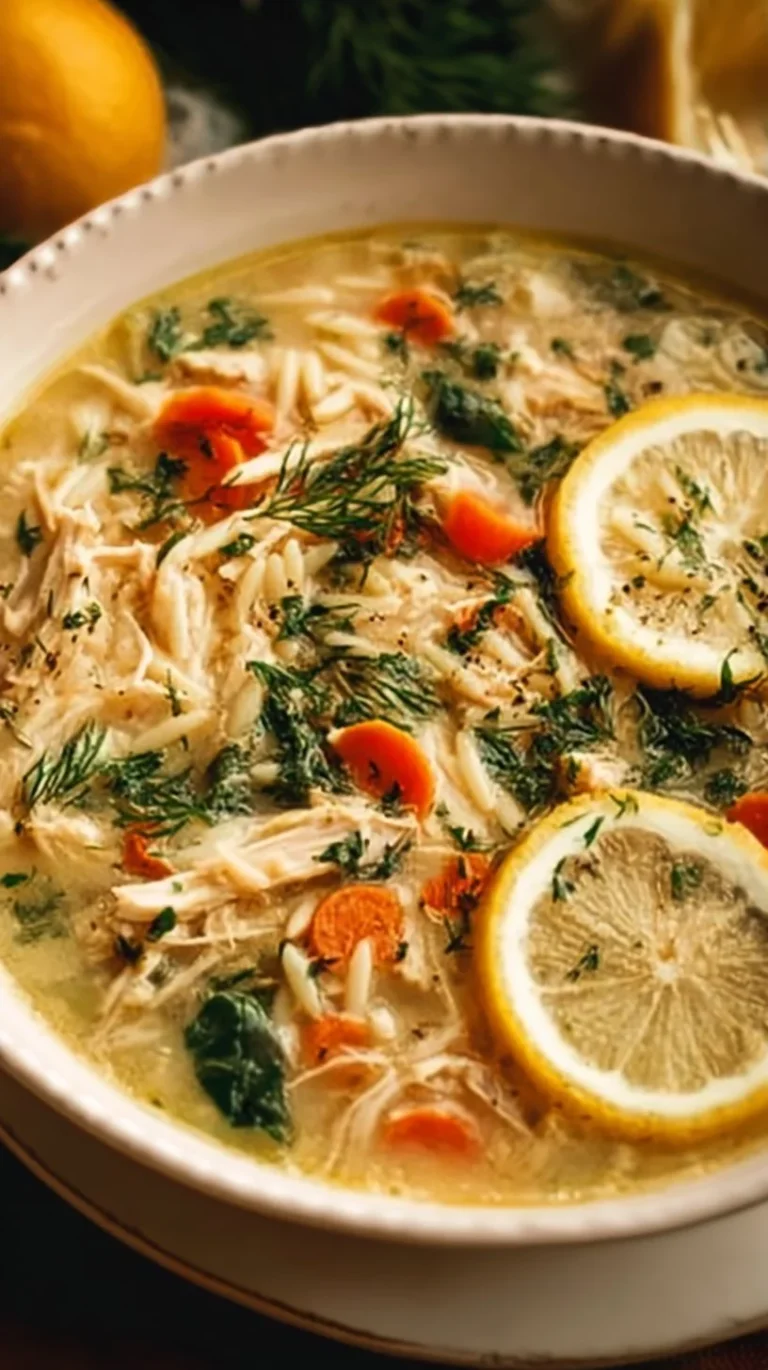
This bowl is also a wonderful starting point if you enjoy bowls with layered textures and flavors. The roasted chickpeas add a crunchy, savory note while the vegetables soften and caramelize, and a handful of fresh spinach or kale brings brightness. If you enjoy bowls as a format, you might also like my take on other easy bowls like Honey Sriracha Salmon Bowls — they follow the same friendly, step-by-step approach to helping you build a balanced plate.
Throughout this article I’ll walk you through what to watch for at every stage, explain why each ingredient is used, and offer practical reassurance so you can finish with a warm, nourishing bowl that makes you proud.
Why this recipe is easy to get right
There are a few reasons this recipe is especially forgiving. First, it relies on roasting — a hands-off technique that rewards a little patience. Once the chickpeas and veggies are in the oven, the oven does most of the work. Second, the seasoning is straightforward: paprika, garlic powder, salt, and pepper. These flavors are familiar and hard to overdo when used in small amounts. Third, the textures (crispy chickpeas, tender-roasted vegetables, fresh greens) naturally complement each other even if one element comes out slightly different than expected.
This recipe also allows flexibility in timing and layout. If your chickpeas finish a bit earlier than the vegetables, you can remove them and keep roasting the veggies for a few more minutes. If everything finishes together, great — if not, that’s okay. The bowl format makes it easy to combine elements as they become ready. For more ideas on bowl-building and balancing textures, check out my beginner-friendly bowls guide like the Tuna Chickpea Salad Bowl, which uses similar layering principles.
In short: it’s forgiving because small imperfections won’t ruin the final dish, and the process helps you practice core skills without intimidation.
How to make Roasted Chickpea and Veggie Bowl
At a glance, the process has three parts: prepare and season (dry ingredients and veggies), roast (let the oven do its work), and assemble (combine roasted items with greens). Here’s what happens first, next, and last, and where to take your time.
First: preheat and prep. Preheating ensures the oven is hot enough to crisp the chickpeas and caramelize the vegetables. Measure your spices and rinse the canned chickpeas so the surface is dry enough to crisp. Dice and slice the vegetables so they roast evenly — pieces similar in size will cook at about the same rate.
Next: toss and spread. Toss the chickpeas with olive oil and spices so the seasonings coat them evenly; this helps color and crisp them in the oven. Do the same with the vegetables. Spread items in a single layer on the sheet — crowding leads to steaming instead of roasting. If you need to, use a second sheet; it’s fine for the chickpeas and veggies to roast separately.
Then: roast and observe. Slide the sheet into the hot oven and set a timer for the lower end of the range mentioned in the directions. Check visually and by feel — chickpeas should look golden and have a firm, crunchy exterior; vegetables should be tender with browned spots. If things need more time, roast in short increments and check again. If some pieces brown faster, remove them and let the rest finish.
Finally: assemble and serve. Combine the roasted chickpeas and vegetables with fresh spinach or kale in a serving bowl. The heat from the roasted items will slightly wilt the greens, creating a pleasant contrast between warm and fresh. Taste and adjust salt and pepper if needed, then enjoy.
Beginners, slow down at the chopping and the tossing stages. Uniform pieces and even coating make a big difference in how evenly things roast. Don’t worry about perfect cuts — the goal is roughly uniform pieces, not chef-level precision.
Ingredients
1 can chickpeas, drained and rinsed, 1 tablespoon olive oil, 1 teaspoon paprika, 1 teaspoon garlic powder, Salt and pepper to taste, 1 red bell pepper, diced, 1 zucchini, diced, 1 carrot, sliced, 1 cup spinach or kale, Cooking spray or additional olive oil for roasting
Here’s what each ingredient does and why none of them are intimidating:
- 1 can chickpeas, drained and rinsed — Chickpeas are the protein and crunchy element here. Rinsing removes the canned liquid so they’ll crisp up in the oven instead of steaming. Canned chickpeas are an easy shortcut to a homemade-feeling result.
- 1 tablespoon olive oil — Oil helps the chickpeas and vegetables brown and carry the spices. A small amount is enough for coating; it’s about encouraging caramelization and preventing sticking.
- 1 teaspoon paprika — Paprika adds gentle warmth and color. It’s mild and familiar, not overpowering.
- 1 teaspoon garlic powder — Garlic powder gives an even garlic flavor without burning like fresh garlic sometimes can in the oven.
- Salt and pepper to taste — Salt enhances all the flavors while pepper adds a touch of bite. Season carefully and taste at the end.
- 1 red bell pepper, diced — Bell pepper brings sweetness and color. Diced to similar size as the zucchini helps everything roast evenly.
- 1 zucchini, diced — Zucchini softens quickly and picks up browned edges that add depth.
- 1 carrot, sliced — Carrots add sweetness and texture contrast. Slicing them allows them to roast through in the same timeframe as the other vegetables.
- 1 cup spinach or kale — Fresh greens add a bright, slightly bitter counterpoint; they wilt slightly when mixed with warm roasted items, which is desirable.
- Cooking spray or additional olive oil for roasting — Use this if your baking sheet tends to stick; a light coating prevents sticking without adding extra fat.
Together these ingredients create balanced flavors and textures: crispy, savory chickpeas; sweet, roasted vegetables; and fresh greens for brightness. Nothing is complicated — mostly it’s about combining a few pantry staples and letting the oven do the work.
Directions
- Preheat the oven to 400°F (200°C)., 2. In a bowl, toss chickpeas with olive oil, paprika, garlic powder, salt, and pepper., 3. Spread chickpeas on a baking sheet lined with parchment paper., 4. In another bowl, toss diced vegetables with olive oil, salt, and pepper., 5. Spread the vegetables on the same baking sheet or on a separate one., 6. Roast for about 20-25 minutes, until everything is crispy and golden., 7. In a serving bowl, combine the roasted chickpeas, veggies, and fresh spinach or kale., 8. Serve warm and enjoy your plant-based meal!
Supportive guidance around the steps:
- Step 1 visual cue: When preheated, the oven should feel noticeably hot if you carefully hold your hand near (not inside) the open door for a second. A fully preheated oven helps browning begin immediately.
- Steps 2–3 texture hint: After tossing chickpeas with oil and spices, they should look evenly coated but not swimming in oil. If they look soggy, gently pat them with a paper towel before spreading on the sheet — a drier surface crisps better.
- Step 3 layout tip: Spread chickpeas in one single layer. If they overlap, they steam and won’t get crispy. Use a second sheet if needed.
- Steps 4–5 timing note: Dice the vegetables to similar sizes so they finish roasting at the same time. If your carrot slices are thicker than the zucchini, they’ll need extra minutes.
- Step 6 visual cues: Look for golden-brown edges on chickpeas and vegetables. Chickpeas should sound slightly firm if you tap one with a fork; roasted vegetables should be tender enough to pierce with a fork but have browned spots where they made contact with the sheet.
- Step 7 assembly reassurance: The greens will wilt a bit from the residual heat — that’s expected and desirable. If you prefer your greens completely raw, let the roasted items cool for a few minutes before combining.
- Final reassurance: If some pieces brown faster than others, remove the finished items and let the rest continue roasting. Slight unevenness is normal and won’t ruin the bowl.
If the first time your chickpeas are a little softer than you hoped, don’t worry — try drier chickpeas next time (pat with paper towel) and roast a bit longer. Cooking is about learning small adjustments, and each attempt teaches something useful.
Key techniques you’ll practice in this recipe
- Roasting evenly: Learning to arrange ingredients in a single layer is a basic but powerful technique. It affects browning and texture in many roasted recipes.
- Seasoning to taste: Tossing and tasting teaches you how much a teaspoon of spice contributes and how to adjust salt at the end without over-seasoning.
- Balancing textures: Combining crunchy roasted chickpeas with tender vegetables and fresh greens helps you practice creating contrast — a skill useful across many meals.
- Timing and observation: Setting a timer and checking visually helps you develop intuition for doneness, rather than relying strictly on clocks.
These techniques are foundational and will make many other recipes easier and more predictable. Once you can confidently roast and assess doneness, you can apply the same approach to root vegetables, tofu, or even sheet-pan dinners.
Common mistakes and how to avoid them
- Mistake: Overcrowding the sheet pan. Fix: Spread ingredients in a single layer; use a second sheet if necessary. Crowding leads to steaming, not roasting.
- Mistake: Not drying canned chickpeas. Fix: After rinsing, pat them lightly with paper towels. Removing surface moisture helps them crisp.
- Mistake: Unevenly sized vegetable pieces. Fix: Cut vegetables into similar sizes so they roast at the same rate. If you have a thicker piece, remove it later when it’s ready.
- Mistake: Adding too much oil. Fix: Use the specified tablespoon for chickpeas and a light coating for vegetables. Excess oil inhibits crisping and makes the sheet greasy.
- Mistake: Walking away completely. Fix: Roasting is largely hands-off, but check near the end of the time range so nothing goes from golden to overly dark.
If a problem happens — say the chickpeas aren’t crunchy — it’s recoverable. Return them to the oven uncovered for 5–10 more minutes, stirring once or twice. If the vegetables are slightly underdone, give them another few minutes; if they’re overdone, pair them with fresher, raw greens to balance the bowl. You don’t need to start over.
How to adjust confidently without changing the recipe
Although you mustn’t change the ingredients or steps here, you can think conceptually about adjustments for future batches:
- Portion scaling concepts: To serve more people, use more baking sheets rather than crowding a single sheet. Roast in batches if necessary to keep items in a single layer.
- Flavor preference adjustments: If you prefer more heat or smokiness in the future, consider adding a pinch of cayenne or smoked paprika (conceptually) — but for this recipe stick with the listed seasonings now so you can learn the baseline flavors.
- Texture tweaks conceptually: For a softer chickpea texture, reduce roasting time slightly; for extra crunch, roast a bit longer and make sure the chickpeas are dry before roasting. For firmer vegetables, cut them a bit larger; for quicker roasting, dice them smaller.
These conceptual tweaks help you gain confidence for when you’re ready to experiment, but follow the recipe exactly the first few times to learn how the given balance behaves.
Serving, storage, and reheating made simple
Serve this bowl warm, straight from the oven to the serving bowl, with the greens either slightly wilted or added after a short rest if you prefer them crisper. A squeeze of lemon or a simple yogurt or tahini drizzle pairs beautifully — though these are optional extras you can add once you’ve mastered the basic bowl.
To store leftovers: cool everything to room temperature, transfer to an airtight container, and keep in the refrigerator for up to 3–4 days. Store chickpeas and roasted vegetables together or separately if you want to preserve a little more texture.
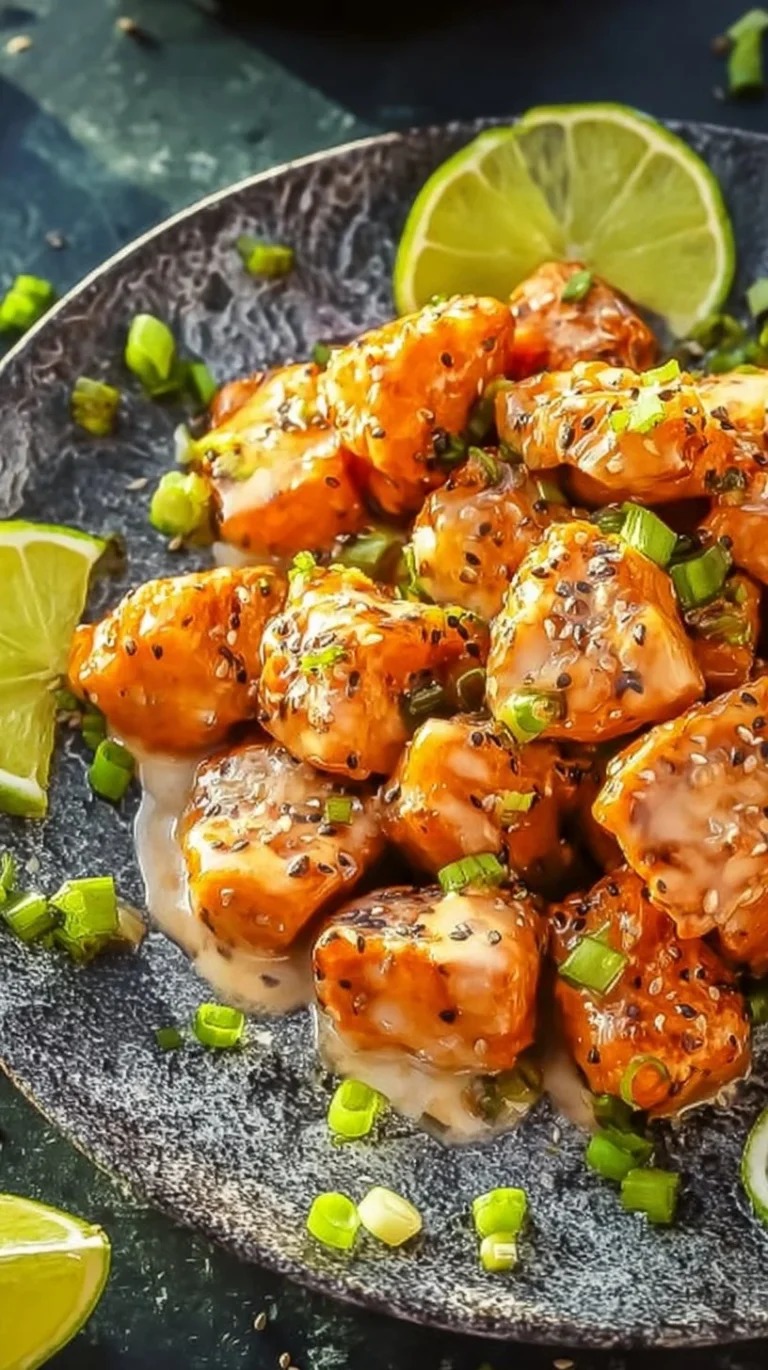
To reheat while keeping texture: reheat in a 350°F (175°C) oven on a sheet pan for 8–10 minutes, or until warmed through, to help the chickpeas regain some crispness. A microwave will warm quickly but can soften the chickpeas; if you use it, transfer to a hot skillet after microwaving for a minute to revive texture. For more reheating tips and bowl ideas that help preserve texture, see my article about the Bang Bang Chicken Bowl, which covers practical reheating and serving notes that apply here as well.
Questions new cooks often ask about this recipe
- How will I know the chickpeas are done? They should be golden and feel firm when tapped with a fork. If they’re still soft, give them a few more minutes in the oven.
- Do I have to peel the chickpeas? No. The skins are fine and contribute to the crisp exterior. Skipping peeling saves time and effort.
- Can I roast the chickpeas and vegetables together on the same sheet? Yes, if you can give them space. If the sheet gets too crowded, use two pans so each item has room to brown.
- What if my vegetables release water and make the pan wet? That’s normal. Give them space on the sheet and avoid excess oil. If there’s a lot of moisture, move the vegetables to a hot part of the oven or roast a little longer to encourage evaporation.
- Is it okay if the greens wilt? Yes — a slight wilt is part of the texture contrast. If you want them crisp, add them after the roasted elements cool slightly.
These are all normal questions. The important part is to observe, taste, and make small adjustments next time.
Final encouragement from Carla
Cooking is a practice, not a test. If your first Roasted Chickpea and Veggie Bowl comes out slightly different than you imagined, that’s a sign you’re learning. Each time you make it you’ll get a little more confident with timing, seasoning, and oven behavior. Celebrate the small wins — a golden edge on a chickpea, a caramelized vegetable, a perfectly wilted handful of greens. Those are the moments that build skill.
Keep this recipe close as a reliable weeknight option. It’s straightforward, flexible, and forgiving — a perfect classroom for developing dependable habits in the kitchen. You’ve got this, and I’ll be cheering you on.
Conclusion
If you’d like to see a similar roasted chickpea bowl with slightly different seasoning and plating ideas, this Roasted Chickpea & Veggie Bowl Recipe – Cooking For Peanuts has useful variations to spark inspiration. For a version that pairs roasted vegetables and chickpeas with a hummus-style dressing, take a look at the Roasted Vegetables & Chickpea Bowl with Hummus Dressing, which shows how a simple dressing changes the bowl’s character. If you enjoy a spicier profile, the Spicy Roasted Chickpea Salad Bowl – Munching with Mariyah offers ideas for turning up the heat while keeping the same comforting structure.
Roasted Chickpea and Veggie Bowl
Ingredients
Method
- Preheat the oven to 400°F (200°C).
- In a bowl, toss chickpeas with olive oil, paprika, garlic powder, salt, and pepper.
- Spread chickpeas on a baking sheet lined with parchment paper.
- In another bowl, toss diced vegetables with olive oil, salt, and pepper.
- Spread the vegetables on the same baking sheet or on a separate one.
- Roast for about 20-25 minutes, until everything is crispy and golden.
- In a serving bowl, combine the roasted chickpeas, veggies, and fresh spinach or kale.
- Serve warm and enjoy your plant-based meal!