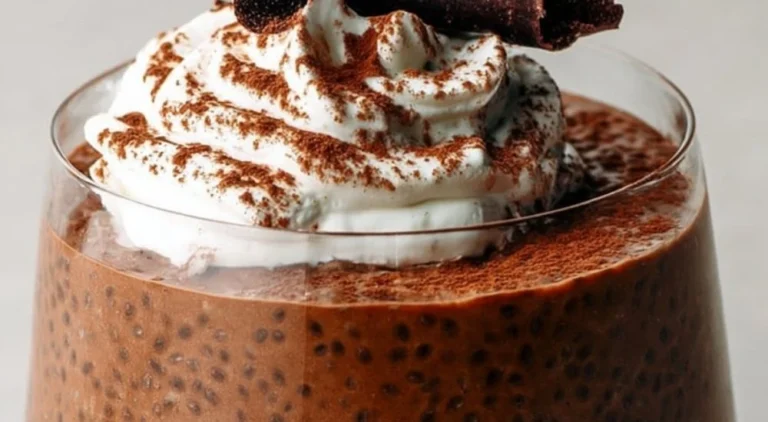
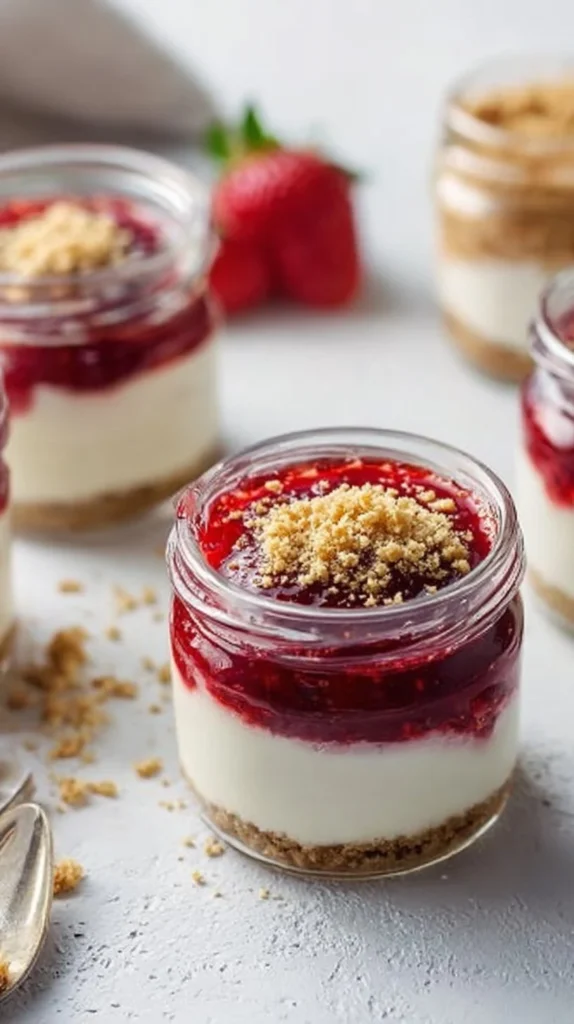
No Bake Cheesecake in a Jar (Lightened Up/Healthy) – Hannah Magee RD

There’s something reassuring about a little jar of cheesecake: familiar creamy flavor, a bit of crunch on the bottom, and a portion size that makes it easy to manage for busy families. As someone who cooks for a household with shifting schedules, I love recipes that feel indulgent but are simple to pull together — and that’s exactly where this No Bake Cheesecake in a Jar (Lightened Up/Healthy) – Hannah Magee RD fits in. It’s one of those recipes that works for a weeknight dessert when school and sports spill into the evening, or doubled up for a brunch gathering when you need something pretty-looking but low-effort.
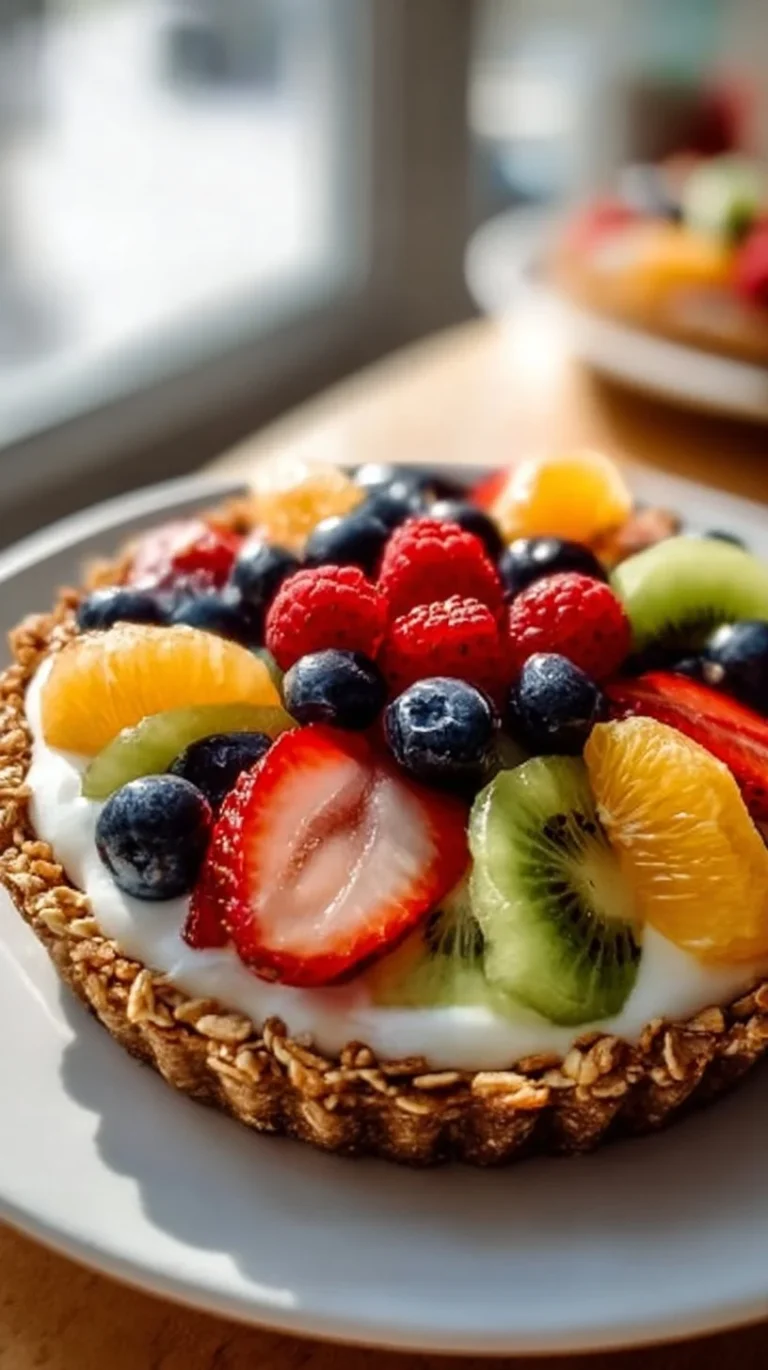
This version keeps the classic cheesecake comfort without heavy steps like baking or waiting around for a grand presentation. The flavors are straightforward — a slightly tangy cream layer with a sweet, crunchy base — the kind of thing kids will happily scoop into and adults will enjoy with their coffee. If you’re curious about other quick, no-bake dessert ideas that pack a protein punch, you’ll like this no-bake high-protein cheesecake fluff I often mention when families want a ready-in-minutes treat.
Why this recipe is so family-friendly is simple: it’s fast, predictable, and easy to customize. You can assemble jars while dinner finishes, stash them in the fridge for a grab-and-go breakfast, or arrange a handful on a platter for company. The size of each jar keeps portions sensible, and the no-bake method means it’s very hard to ruin — no cracked tops, no overcooking. For parents and home cooks who value reliability and familiar flavors, this is the sort of go-to dessert that earns its place in a regular rotation.
How to make No Bake Cheesecake in a Jar (Lightened Up/Healthy) – Hannah Magee RD
The process for these jars breaks down into three friendly stages: prepare the base, mix the creamy filling, and assemble. Expect about 10–20 minutes of hands-on time, mostly measuring and stirring, with a short chill to set everything comfortably. That makes it ideal for fitting in between homework, bath time, or when you’re finishing up a busy dinner.
Stage 1: Base — Most jars use a simple crumb base (think graham crackers or digestive biscuits crushed and mixed with a little butter or an alternative). The base gives texture and a sweet backdrop for the creamy layer. It’s a step you can do in a bowl with a fork, in a food bag with a rolling pin, or in a food processor if you have it — whichever saves time for you.
Stage 2: Filling — The filling is the heart of the recipe and where the lightened-up approach shines: cream cheese gets blended with a lighter ingredient (often Greek yogurt or a similar tangy dairy) plus a touch of sweetener and vanilla. The goal is a smooth, whipped texture that’s not too dense. You’ll want to work gently but thoroughly here to avoid lumps; a handheld mixer helps but a sturdy whisk and a little elbow grease will do.
Stage 3: Assembly and chill — Layer the crumb base and the filling in small jars, top with fruit or preserves if you like, and pop them in the fridge. They don’t need overnight to be delightful, but a short chill — even an hour — helps the filling firm up enough so the jars slice cleanly with a spoon.
Beginners should slow down during the filling stage to make sure the cream cheese is softened and smoothly combined; little lumps are the most common snag here. Shortcuts exist naturally: using store-bought cookie crumbs, a jar of fruit preserves, or pre-portioned small jars speeds assembly without changing the result much. Overall, it’s a forgiving, quick process that fits neatly into real family routines.
Ingredients
Instead of listing exact measures here, I’ll talk through what each ingredient typically contributes so you understand why they’re included and how each one affects the final jar.
Cream cheese: This gives the cheesecake its signature tang and rich mouthfeel. For a lighter version, recipes often use a reduced-fat cream cheese or a mix of cream cheese with Greek yogurt to keep creaminess while dialing back heaviness.
Greek yogurt: Adds tang, creaminess, and a bit of protein. It also loosens the texture so the filling is silkier and less dense than traditional baked cheesecake.
Sweetener (honey, maple, or sugar): Brings balance to the tang of the cheese and yogurt. Use an amount that tastes right to your family; kids often prefer things a little sweeter, while adults may like a subtler touch.
Vanilla extract: Simple flavor boost — it smooths the overall taste and makes the cheesecake feel dessert-ready.
Lemon (optional): A splash of fresh lemon juice or a little zest brightens the filling and makes it taste fresher, but it’s not mandatory.
Crumbs (graham crackers, digestive biscuits, or even granola): The base creates contrast in texture and adds warmth and sweetness. Crumbs crushed fairly fine hold together better in a jar.
Fat for crumbs (butter, coconut oil, or a neutral oil): Helps the crumbs clump so they act like a crust. Less fat makes a looser crumb; more fat binds it into a firmer base.
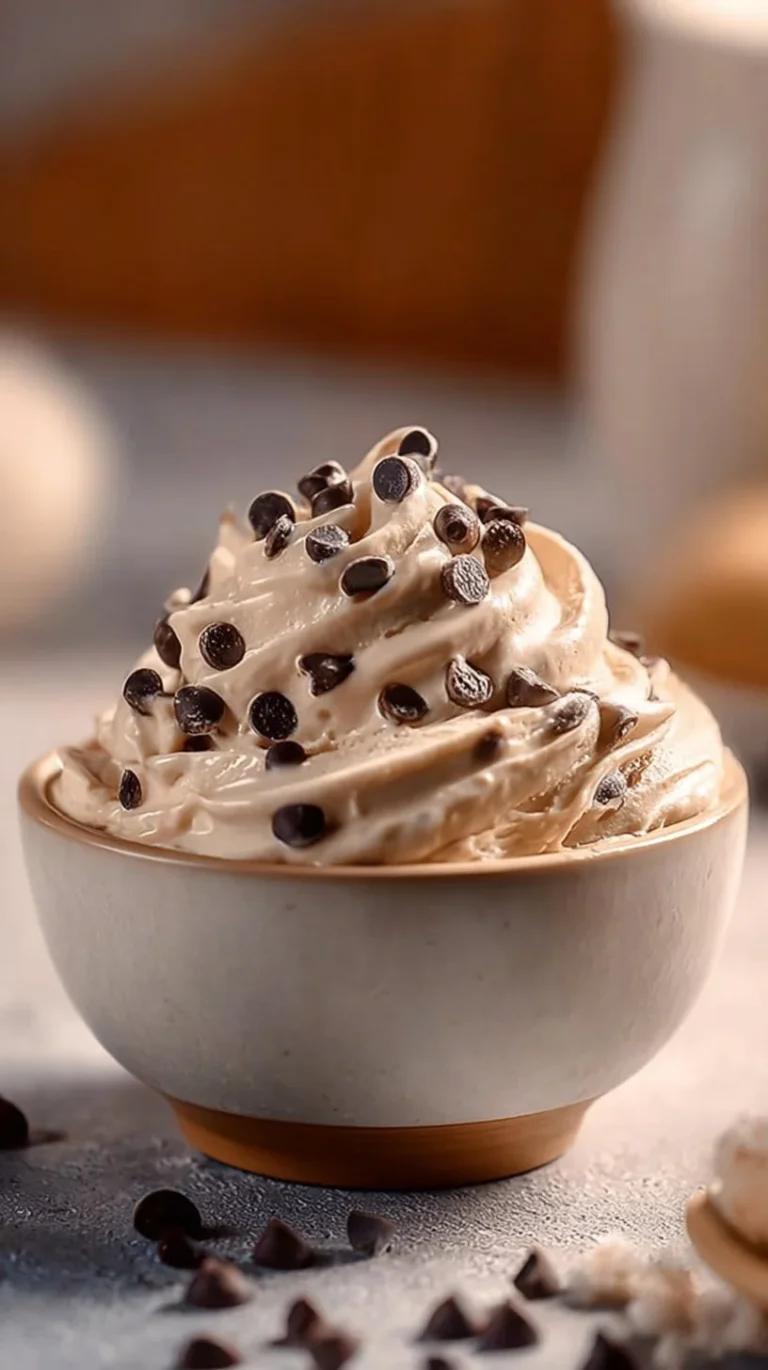
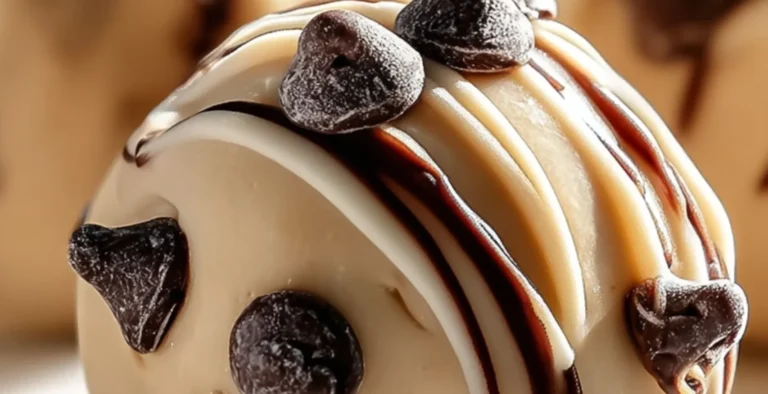
Toppings (fresh fruit, fruit compote, jam, chocolate shavings, nuts): These are where you can personalize jars for different family members — kids often love jam and sprinkles, while adults might prefer berries or toasted nuts.
Everything here is common pantry fare, which is part of the recipe’s appeal: you rarely need a specialty run to make these. Keeping cream cheese and a jar of crushed cookies on hand makes these an easy quick dessert any evening.
Directions
I’ll walk through the usual steps and offer friendly, practical guidance so you know what to look for and how to stay on track.
Prepare the crumb base: Crush your cookies or crackers to fine crumbs and mix with melted butter or oil until the mixture holds together when pressed. You should be able to take a small handful, squeeze it, and have it form a loose clump. If it’s too dry, add a touch more butter; too wet and it won’t crumble attractively in the jar.
Make the filling: Soften your cream cheese first. This is the one place where taking the extra minute to let it come to room temperature really pays off; it blends into a silky filling more easily and you’ll avoid lumps. Beat the cream cheese until smooth, then add yogurt, sweetener, vanilla, and any lemon. Taste and adjust sweetness gently — the filling should be pleasantly tangy with a hint of sweetness.
Assemble the jars: Spoon or pipe a layer of crumbs into each jar, press lightly, then add a generous layer of cheesecake filling. If you’re adding a second crumb layer, do it before the final filling. Finish with a topping of choice — fruit, a spoonful of jam, or a few chocolate shavings.
Chill: Refrigerate the jars for at least an hour to let the filling firm up. They’re ready to serve chilled; if left longer, they’ll continue to set and deepen in flavor.
Common small mistakes to avoid: don’t try to beat cold cream cheese into submission — it will stay lumpy. Also, don’t over-sweeten the filling; toppings like jam or fruit already bring extra sugar. Lastly, press crumbs firmly enough to form a base but not so hard that they become compacted and dry.
If your family is assembling these with you, assign tasks like crushing crumbs or spooning fillings to little helpers — it’s an easy recipe to make together and kids enjoy building their own jars.
Why families love this dish
This cheesecake in a jar checks a lot of boxes for family cooking. First, it’s familiar: the tastes are those most kids recognize and enjoy — creamy, a little sweet, and crunchy. Second, the portions are manageable. Jars make it easy to serve individual desserts without fussing with cuts or plates, and they store well for lunches or snacks.
Comfort factor is high because it mimics a classic dessert but without complicated technique. There’s no oven time to coordinate, no risk of cracking, and it feels special even when you’re short on time. The texture is creamy and spoon-friendly, which tends to be a winner with younger eaters.
Versatility is another reason families go back to it: swap toppings for what’s in season, use leftover cookies for the crust, or pack a jar for a picnic. It’s reliable in taste and texture, so once you’ve made it a couple of times you’ll know what your family likes and can replicate it quickly.
Smart substitutions and simple variations
If you have picky eaters or want a quick twist, here are reliable swaps that keep the recipe simple and family-friendly:
Crust substitutions: Use crushed animal crackers, shortbread cookies, or even granola for a heartier base. For gluten-free, use certified gluten-free graham-style crumbs.
Dairy swaps: For a lighter texture, increase the proportion of Greek yogurt to cream cheese. If someone needs dairy-free, a high-quality dairy-free cream cheese and coconut yogurt can work, but texture and flavor will change slightly.
Sweetener choices: Honey, maple syrup, or powdered sugar are all fine. Swap based on what you have; powdered sugar blends easily for a super-smooth filling.
Topping ideas: Fresh berries keep things bright. A spoonful of fruit preserves is familiar and kid-approved. Toasted coconut or chopped nuts add crunch for adults.
Flavor twists: Stir a little cocoa powder into a portion for chocolate jars, or a pinch of cinnamon for a warm hint without complicating the process.
All these swaps preserve the simplicity of the original while allowing you to tailor each jar to different tastes without extra steps.
Pairing ideas for a complete, satisfying meal
These cheesecake jars are a dessert, but if you’re aiming to round out a weeknight meal simply, here are a few low-effort pairings:
A simple roast chicken or baked fish, a green salad, and steamed vegetables keeps the meal light so the jars feel like a treat at the end.
For casual get-togethers, serve the jars with a cheese board and sliced fruit — it’s an easy spread that requires minimal last-minute work.
If you’re doing a brunch, pair the jars with warm muffins or quick savory egg muffins to balance sweet and savory options.
Sides that require minimal active time — a bagged salad, roasted veggie sheet pan, or a store-bought baguette warmed briefly — make it easy to serve a complete meal with little extra fuss.
Make-ahead tips, leftovers, and storage
One of the best things about these jars is how well they fit into a make-ahead routine. Assemble them a few hours in advance or the night before and keep them covered in the fridge. They’ll firm up and the flavors will meld, making them taste even better the next day.
Storage: Keep the jars refrigerated, covered with lids or plastic wrap. They generally hold well for 3–4 days; after that the crust may soften. If the topping is fresh fruit, consume sooner for the best texture.
Transport: Jars are travel-friendly — pack them in a cooler for picnics or potlucks. If taking to someone’s house, keep them chilled until serving time.
Reheating: These are best served chilled, so reheating isn’t necessary. If you prefer a softer filling, let a jar sit at room temperature for 10–15 minutes before serving.
Leftovers: If you have leftover filling, it makes a lovely spread for toast or pancakes, or use it as a dip for fruit. The crumb base can be refreshed briefly in a warm oven to restore crunch, but in the fridge it still tastes fine.
Common questions home cooks ask about this recipe
Q: How long does it take to set? A: A short chill of an hour is usually enough for a spoonable texture, but for a firmer set you can refrigerate 3–4 hours. Overnight is fine if you’re prepping ahead.
Q: My filling is lumpy — what went wrong? A: Most often the cream cheese wasn’t softened enough. Let it sit at room temperature a bit longer next time, or take small steps blending with the yogurt gradually.
Q: Can I scale this up? A: Yes — jar quantities are easy to multiply. Keep an eye on assembly time if you’re making many jars; doing the crumbs and filling in large batches speeds things up.
Q: Will the crust go soggy? A: It will soften a bit over time as it absorbs moisture from the filling. Pressing the crumbs so they bind with a little butter helps them stay structured, but expect some softening after a day.
Q: How can I be sure each jar looks neat? A: Use a piping bag or a zip-top bag with a corner cut off to pipe the filling into jars neatly. Press the crumb base with the back of a spoon or a small measuring cup to make an even layer.
These are practical fixes and reassurances that keep you confident when making this recipe again and again.
Final thoughts from Sarah
This No Bake Cheesecake in a Jar (Lightened Up/Healthy) – Hannah Magee RD is exactly the kind of recipe I return to when I want a dessert that feels special without demanding extra hours in the kitchen. It’s dependable, easy for kids to help assemble, and forgiving when life gets busy. Keep the basic components on hand — cream cheese, yogurt, a jar of crumbs — and you’ll have a quick, comforting dessert ready whenever the moment calls for something sweet.
Give it a try on a hectic weeknight or prep a few jars for the weekend. You’ll find it’s one of those family-friendly recipes that earns repeat turns because it’s simple, familiar, and reliably satisfying. Happy cooking, and I hope it becomes a comforting staple in your home rotation.
Warmly,
Sarah Collins
Conclusion
If you want another quick no-bake lemon option, this 10-Minute Lemon Cheesecake Cups with Greek Yogurt (No Bake!) is a great follow-up to try. For ideas on preserving fresh flavors that pair well with these jars, read this piece on Preserving Summer Herbs By Making Oxymel. If you’d like to see the original inspiration for this lighter jar cheesecake, here’s the Healthier No Bake Cheesecake in a Jar – Hannah Magee RD post. For a wildly different recipe idea that some home cooks share around quick meal rotations, take a look at this instant pot healthy beef chili write-up.
No Bake Cheesecake in a Jar
Ingredients
Method
- Crush your cookies or crackers to fine crumbs and mix with melted butter or oil until the mixture holds together when pressed.
- Soften the cream cheese before blending. Beat the cream cheese until smooth, then add yogurt, sweetener, vanilla, and lemon juice. Taste and adjust sweetness.
- Layer the crumb base and the cheesecake filling in small jars. Add toppings if desired, and refrigerate for at least an hour.