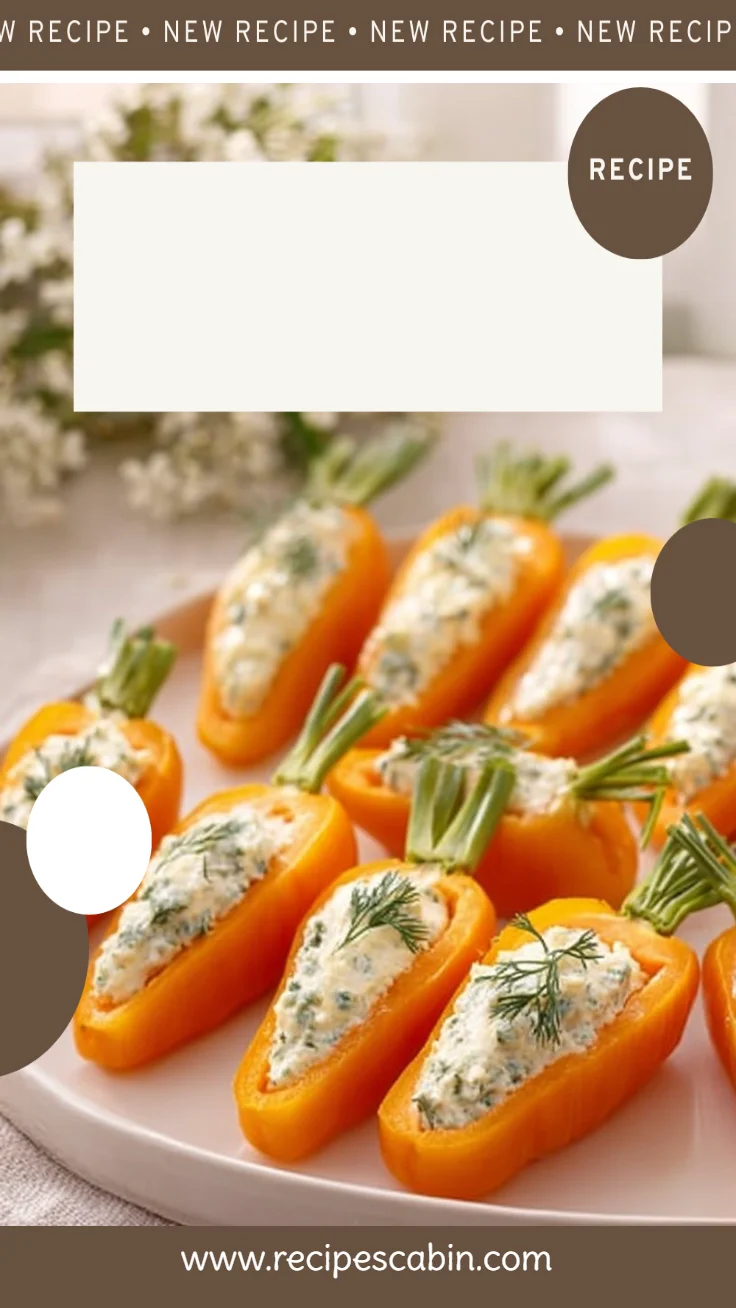
Mini Carrot Stuffed Peppers

If you’re juggling homework, soccer practice, and dinner prep, you need recipes that feel effortless and turn out the same way every time. That’s exactly why Mini Carrot Stuffed Peppers are one of my go-to small bites for busy families. They look festive and playful — bright little orange peppers filled with a creamy, herby cheese that mimics the idea of “carrots” without any of the fuss. Kids are usually drawn to the colors and the easy-to-hold size, and adults appreciate the familiar, comforting flavors.
This recipe shines in a few everyday situations: a quick weeknight appetizer when you want something light before a main course, a tray to bring to casual gatherings, or a make-ahead finger food for busy afternoons or weekend get-togethers. You can scale it up for a party or keep it small for a family snack. Because the flavors are simple and the steps are straightforward, it’s a reliable recipe to reach for when time is tight and you want everyone to enjoy what’s on the table.
What makes this recipe a “go-to”? It’s forgiving, fast, and flexible. The prep is minimal, the bake is short, and the result is a pretty little bite that satisfies kids and adults alike. The flavors are familiar: tangy creamy cheese, a little herb brightness, and the sweet crunch of bell peppers — nothing exotic or intimidating. If you value meals that are easy to execute and hard to mess up, these stuffed peppers will fit right into your weekly rotation.
How to make Mini Carrot Stuffed Peppers
This is one of those recipes where the overall process is delightfully simple: prep the peppers, mix the cheese, stuff, and bake. Expect to spend most of your time preparing the peppers — cutting the tops and removing seeds — and only a few minutes mixing and filling. The oven does the rest, just enough to warm the filling and soften the peppers so they’re tender but still hold their shape.
At each stage you’ll notice little checkpoints. When you cut the tops off, the peppers should sit flat on the counter so they don’t tip while you fill them. When you mix the creamy herb cheese with salt and pepper, taste a small smear to check the seasoning — cheese products vary, so adjust sparingly. When everything goes into the oven, you’re watching mainly for tenderness; a quick poke with a fork will tell you when they’re done.
Beginners should slow down while cutting and cleaning the peppers — removing seeds and any white pith will make the eating experience neater for little hands. If you want to save time, there are natural shortcuts: buy pre-washed mini peppers if your store carries them, or enlist a kid to help with washing while you do the filling. The steps are repeatable and forgiving, so even a first-timer will get a lovely result.
Ingredients
Mini orange bell peppers, Creamy herb cheese, Fresh dill fronds, Salt (to taste), Pepper (to taste)
This short ingredient list is part of what makes the recipe work for busy families. Each item serves a clear purpose and you won’t need specialty equipment or hard-to-find pantry items. Keep the ingredient names as listed and you’re all set.
- Mini orange bell peppers: These are the stars — sweet, crisp, and the perfect size for bite-sized servings. Their color gives the dish a cheerful, “carrot-like” look.
- Creamy herb cheese: This provides the rich, spreadable filling. Choose a creamy cheese that’s already seasoned with herbs, or a plain cream cheese you’ve mixed with a bit of dried herbs if that’s what’s on hand.
- Fresh dill fronds: These are for garnish and to mimic carrot tops. They add a fresh, slightly floral note and make the plate feel complete and intentional.
- Salt (to taste) and Pepper (to taste): Simple seasoning brings the filling to life. Because different brands of cheese have varying salt levels, tasting as you go keeps things balanced.
Directions
- Preheat the oven to 375°F (190°C)., 2. Cut the tops off the mini bell peppers and remove the seeds., 3. In a bowl, mix the creamy herb cheese with salt and pepper., 4. Stuff each mini pepper with the cheese mixture., 5. Place the stuffed peppers on a baking tray and bake for 10-15 minutes until they are tender., 6. Garnish with fresh dill fronds to resemble carrot tops., 7. Serve on a tray and enjoy!
Below are some friendly notes for each step so you know what to expect and how to avoid small slip-ups.
Step 1: Preheat the oven to 375°F (190°C).
- Why it matters: A properly preheated oven ensures the peppers heat evenly and the filling warms through without overcooking the peppers. While the oven warms, you can do all the prep work.
- What to look for: The oven should read 375°F on the dial or digital display. If your oven runs hot or cold, a quick oven thermometer can help but it’s not required.
Step 2: Cut the tops off the mini bell peppers and remove the seeds.
- Tips: Use a small paring knife and a steady hand. Cut straight across near the stem to make a little “cup.” Remove the seeds and white ribs — these can be bitter and make the filling slide around.
- Kid-friendly idea: Older kids can help by scooping seeds with a spoon while you supervise.
Step 3: In a bowl, mix the creamy herb cheese with salt and pepper.
- Start small with salt: Taste as you go — if the cheese is already seasoned, you may not need much. Freshly ground pepper adds a nice lift.
- Texture cue: The filling should be spreadable but not runny. If it’s too firm, a small splash of milk or a quick stir will soften it without changing the flavor.
Step 4: Stuff each mini pepper with the cheese mixture.
- Use a teaspoon or a piping bag (or a plastic bag with the corner snipped) for neat, even filling. Press gently so each pepper holds a good amount without bursting.
- Appearance note: Aim for a little mounded top that will soften slightly in the oven.
Step 5: Place the stuffed peppers on a baking tray and bake for 10-15 minutes until they are tender.
- Watch the time: Ovens vary, so check around 10 minutes. You want the peppers to be tender but still somewhat crisp — think of an al dente texture.
- Smell cue: The kitchen will smell warm and cheesy; if you notice browning on the pepper edges earlier, pull them out a bit sooner.
Step 6: Garnish with fresh dill fronds to resemble carrot tops.
- Fresh dill is bright and works as both garnish and flavor. Place a small bunch on top of each pepper to mimic a carrot’s green top.
- If you’re serving to little ones, you can chop the dill finely so it’s less prominent.
Step 7: Serve on a tray and enjoy!
- Serve warm or at room temperature. These are great straight from the oven, but they also travel well for events.
Common small mistakes to avoid: don’t overfill the peppers (it can spill out when baking), don’t skip seed removal (seeds make the peppers messy), and don’t overbake (they should remain slightly biteable).
Why families love this dish
There are a few reasons this recipe tends to get repeated requests from my family and friends. First, it hits familiar flavor notes — creamy, a touch tangy, herbaceous, and sweet from the peppers. There’s nothing surprising or polarizing about the tastes, which makes it a safe bet for kids and adults.
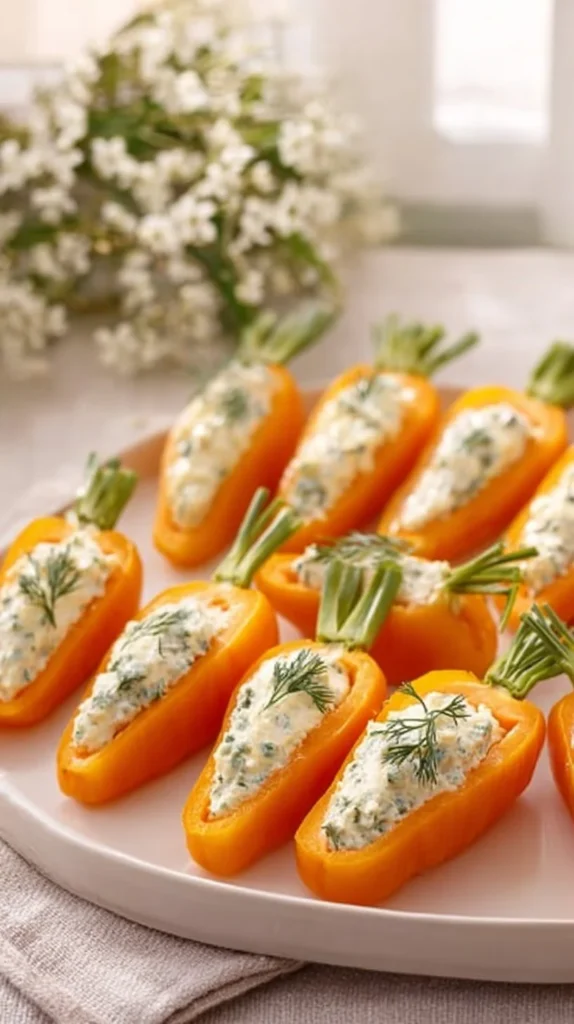
Presentation wise, little orange peppers stuffed with white cream and topped with green dill look cheerful and inviting. That visual appeal helps with picky eaters; food that looks fun often gets tried. The hands-on element — kids can pick one up and eat it — also increases their willingness to try new textures.
And critically for busy families, it’s quick. Low prep, a short oven time, and easy cleanup mean you can have a tray ready in under half an hour from start to finish. That’s realistic for weeknights when you want something simple without sacrificing flavor or presentation.
Smart substitutions and simple variations
Sticking to the ingredient list will give you the intended result, but life happens and sometimes you need options. Here are a few ways to keep the recipe reliable while adjusting for tastes or what’s on hand.
- If you don’t have creamy herb cheese: You can use plain cream cheese mixed with a pinch of dried dill or an Italian seasoning blend. Keep the salt in mind — taste and adjust.
- For picky eaters who dislike herbs: Use plain cream cheese and add a little shredded mild cheddar for familiarity. Add dill sparingly or leave it on the side for adult plates.
- If fresh dill is unavailable: A small sprinkle of dried dill or a tiny bit of fresh parsley works for garnish, though fresh dill gives the most authentic “carrot top” look.
- To add texture or interest: Fold in a tablespoon of finely chopped cucumber or finely diced ham into the cheese for a different mouthfeel — still simple, still family-friendly.
- Make it dairy-free? While the recipe relies on creamy herb cheese, you could experiment with a firm hummus or a soft dairy-free spread, but test the flavor first because these swaps will change the taste profile.
Remember: these are suggestions for flexibility. The original ingredients are the easiest route and deliver the intended crowd-pleasing flavor.
Pairing ideas for a complete, satisfying meal
These mini stuffed peppers work brilliantly as an appetizer or as part of a small-plate family meal. If you want a quick complete meal without much extra work, try these pairings:
- Simple weeknight main: Serve alongside a rotisserie chicken and a ready-made green salad. The peppers make a nice starter while you warm the chicken.
- Pasta night side: A bowl of spaghetti tossed with olive oil, garlic, and a handful of frozen peas cooks quickly and pairs well with the creamy filling.
- Picnic or potluck: Add a loaf of good crusty bread, a jarred olive mix, and a bowl of mixed fruit for a no-fuss spread.
- Light dinner: Plate the peppers with a grain salad (think quinoa or farro tossed with cucumber and lemon) for a balanced, make-ahead-friendly option.
Keep sides simple to avoid extra prep time — this recipe is designed to shine without a lot of fuss.
Make-ahead tips, leftovers, and storage
This recipe is friendly to make-ahead plans. You can prep the peppers (cut and deseeded) and the cheese filling up to a day ahead. Store peppers in an airtight container in the fridge, and keep the filling covered in a separate bowl or container. When you’re ready, fill and bake as directed.
Leftovers store well in an airtight container in the refrigerator for 2–3 days. Reheat gently in a warm oven (about 300°F/150°C) for 8–10 minutes so they warm through without drying. Avoid the microwave if you can — it tends to make the pepper a bit soggy. These also work cold straight from the fridge, especially in lunchboxes or picnic boxes.
If you need to scale up for a crowd, everything scales linearly. Prep extra peppers and filling and space them out on multiple baking sheets so they heat evenly.
Common questions home cooks ask about this recipe
Q: How do I know when the peppers are tender enough?
A: Gently press a pepper with a fork — it should give a little but not collapse. The 10–15 minute baking window is short, so start checking around 10 minutes.
Q: Can I make these without an oven?
A: The oven gives a gentle, even warmth. If you don’t have one, you could briefly warm the peppers in a covered skillet over low heat, but results will vary. The oven is recommended for consistent results.
Q: My filling was too soft — what happened?
A: If the cheese was very soft to begin with, chilling it a few minutes before filling can help. Alternatively, don’t overmix — you want a spreadable texture, not a runny one.
Q: Can I double the recipe easily?
A: Yes. Double the filling and peppers and use another baking tray. Make sure they’re in a single layer so they warm evenly.
Q: Are these suitable for picky eaters?
A: Usually yes — the flavors are familiar. Serve the dill on the side or chopped finely if kids are sensitive to herb texture.
Final thoughts from Sarah
I love recipes that make weekdays feel manageable and weekends feel festive without extra stress. Mini Carrot Stuffed Peppers do both: they’re quick enough for a last-minute tray at a school event and pretty enough for a relaxed gathering. The steps are simple, and the result is a cheerful, hand-held bite that kids adore and adults appreciate.
If you keep a small bag of mini peppers in the fridge and a tub of creamy cheese in the pantry, this recipe becomes one of those dependable backups you reach for when time is short and you want something sure to please. Try it once and you’ll see how it fits into busy family rhythms — it’s one of those small, satisfying recipes that makes weeknights a little easier.
Warmly,
Sarah Collins
Conclusion
If you want a reference for similar stuffed mini pepper ideas, I like this playful take on mini “carrot” peppers from Aleka’s Get-Together as inspiration: Mini ‘Carrot’ Peppers (An Easter Appetizer) – Aleka’s Get-Together. For another family-friendly twist with clear step-by-step photos, see this approach at Reluctant Entertainer: Stuffed Mini Bell Pepper Carrots – Reluctant Entertainer. If you’re planning an Easter or spring spread and want a festive presentation idea, Sweet Tea and Sprinkles has a lovely version: Easter Mini Bell Pepper Carrots – Sweet Tea and Sprinkles. And for another easy family-friendly recipe to compare techniques, The Soccer Mom Blog offers a simple stuffed pepper carrot idea that’s worth a look: Stuffed Pepper Carrots – The Soccer Mom Blog.
Mini Carrot Stuffed Peppers
Ingredients
Method
- Preheat the oven to 375°F (190°C).
- Cut the tops off the mini bell peppers and remove the seeds.
- In a bowl, mix the creamy herb cheese with salt and pepper.
- Stuff each mini pepper with the cheese mixture.
- Place the stuffed peppers on a baking tray and bake for 10-15 minutes until they are tender.
- Garnish with fresh dill fronds to resemble carrot tops.
- Serve on a tray and enjoy!