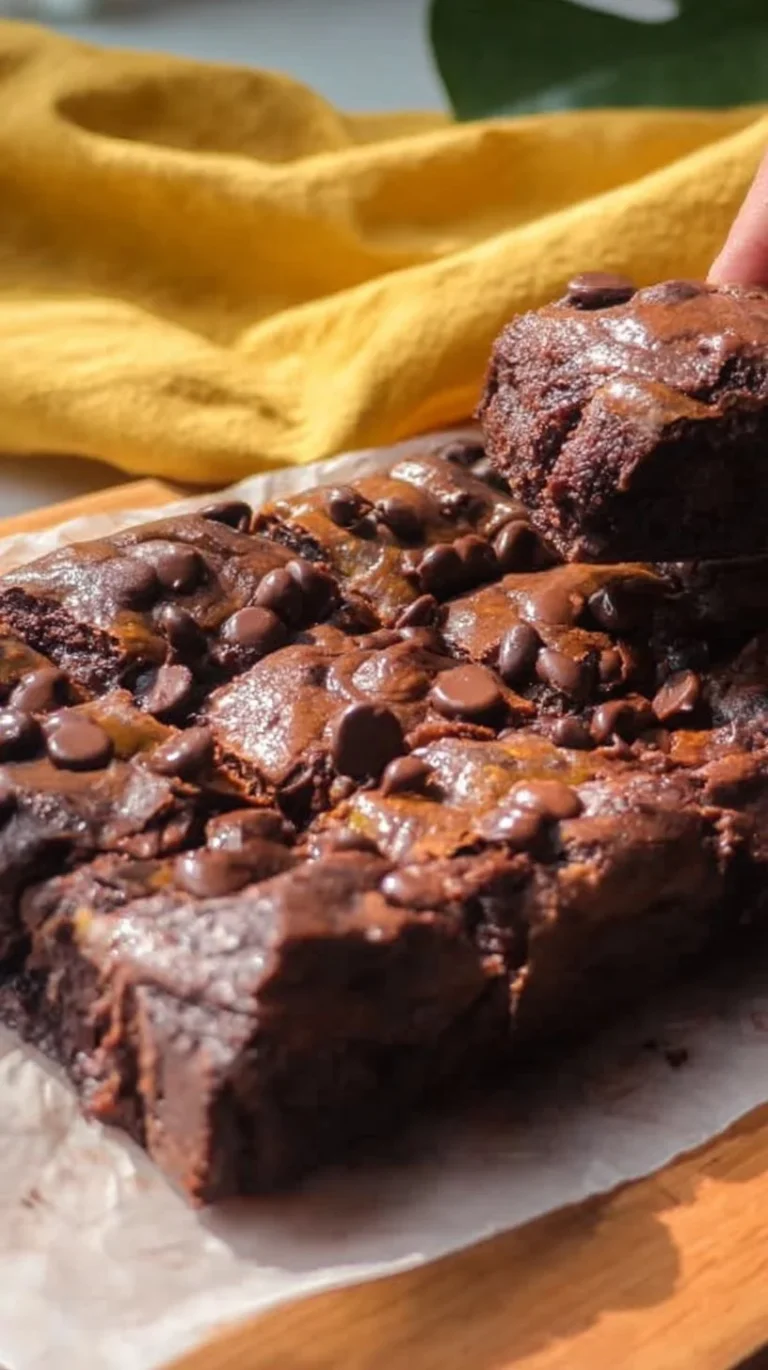
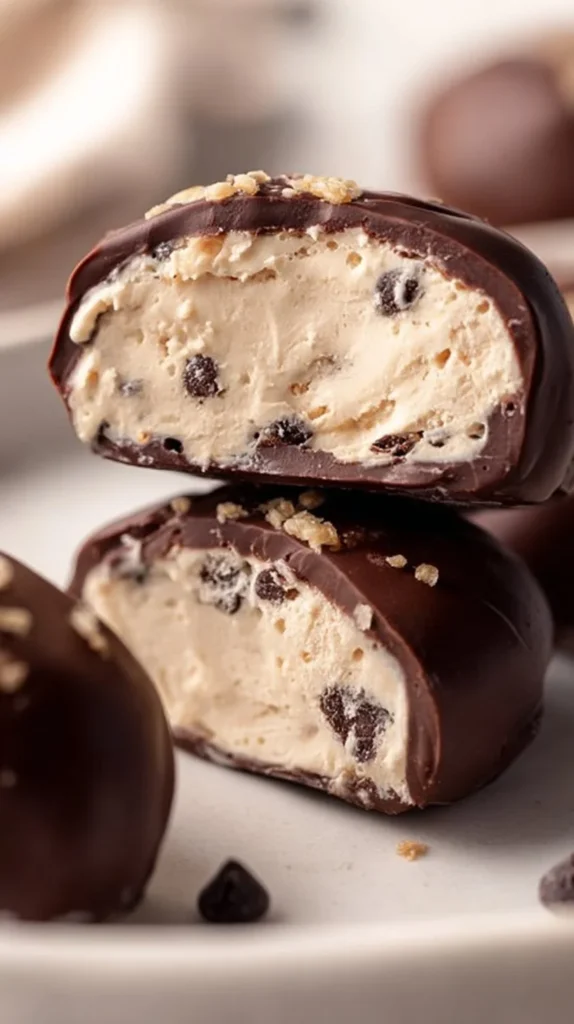
Cookie Dough Frozen Yogurt Bites

There’s something quietly joyful about a small, sweet bite that feels homemade and a little nostalgic — and Cookie Dough Frozen Yogurt Bites hit that note every time. As someone who cooks for a busy household, I love recipes that are short on fuss and big on comfort, and these little frozen treats are exactly that. They’re straightforward to throw together after dinner, perfect for a weeknight dessert, and portable enough for packing into lunchboxes or taking to a neighbor’s potluck.
If you’re familiar with other no-bake yogurt bites, this one fits right into that family of easy snacks — kind of like the frozen Greek yogurt peanut butter bites my kids devour for school treats frozen Greek yogurt peanut butter bites. The cookie-dough flavor is a familiar comfort for kids and adults alike, but the bites keep portions modest and come together quickly, which is a huge win when schedules are tight.
This recipe is a go-to because it’s predictable: simple ingredients you probably have on hand, steps that don’t require special tools, and a result that kids request again and again. Read on and I’ll walk you through what to expect, where to slow down if you’re new to freezing treats, and how to make this an easy, repeatable part of your weekly routine.
How to make Cookie Dough Frozen Yogurt Bites
Making these is a friendly, step-by-step process that won’t eat up your evening. Think of it as three main stages: mixing, freezing the yogurt dollops, and dipping in chocolate. Each stage is short, so you can break the work over an afternoon — mix and freeze the yogurt in the morning, dip and finish after dinner — or do it all in one go if you prefer.
Stage 1 — Mix: Combine the non-dairy yogurt, protein powder (if using), cashew butter, vanilla, and maple syrup until smooth. This is where you’ll decide how sweet and cookie-dough-like you want the base. Stirring until fully smooth helps the bites set evenly.
Stage 2 — Freeze the dollops: Scoop the mixture onto a parchment-lined baking sheet and freeze until solid. This step sets the shape and makes them easy to handle for dipping. Don’t rush the freezing — the full hour really helps them firm up.
Stage 3 — Chocolate coat: Melt chocolate chips with coconut oil for a glossy, snap-worthy coating, then dip the frozen bites and return them to the freezer to harden. The coconut oil thins the chocolate slightly so it coats smoothly.
If you like other frozen snack projects, this method translates well; for a nuttier version and extra protein, I sometimes consult a similar method in a high-protein version high-protein frozen peanut butter bites for technique ideas. But the steps here are written to keep everything simple and reliable.
Beginners should slow down when mixing and when dipping. Make sure the yogurt mixture is smooth and that the bites are fully frozen before dipping, or the chocolate won’t set correctly. A cookie scoop makes the freezing step consistent and quick, but a spoon works fine if that’s what you have.
Ingredients
1 cup non-dairy yogurt (plain and unsweetened), 2 tablespoons protein powder (optional), 1/4 cup cashew butter (or any nut/seed butter), 1 teaspoon vanilla extract, 2 tablespoons maple syrup (or honey), 1 1/2 cups chocolate chips, 2 tablespoons coconut oil
Each ingredient here pulls its weight. The non-dairy yogurt gives the base tang and freeze-friendly creaminess; the cashew butter adds richness and helps the bites hold together once frozen; vanilla brings that cookie-dough familiarity; and the maple syrup provides gentle sweetness without being overpowering. The optional protein powder is just that — optional — but it can make these feel more substantial for older kids or active teens. Chocolate chips are obvious: part of the treat’s magic. Coconut oil mixes with the chocolate to make a smooth coating that sets with a nice snap.
You don’t need fancy brands here — regular pantry staples will do. If you only have a different nut butter, use it; I’ll talk about swaps below. The key is balance: a tangy yogurt base, mild nutty fat for body, a touch of sweet, and chocolate to finish.
Directions
Add all frozen yogurt ingredients except the mini chocolate chips to a bowl and mix until smooth and combined. Then, stir in the mini chocolate chips., Line a baking sheet with parchment paper, and use either a medium-large cookie scoop to scoop dollops of the frozen yogurt mixture onto the making sheet, slightly spacing each one apart., Transfer the baking sheet to the freezer and freeze for at least 1 hour, or until the yogurt is completely solid., Melt together the chocolate chips and coconut oil in either the microwave or over a double boiler, until completely smooth. Remove the frozen yogurt bites from the freezer and dip each one into the melted chocolate to coat, then transfer back to the baking sheet., Once all frozen yogurt bites have been dipped in chocolate, return to the freezer for at least another 30 minutes, or until chocolate has hardened. Either store in the freezer for enjoy later on, or take one out to enjoy right away!
These are the exact, unfussy steps I follow every time. A few friendly notes to keep things on track:
Mixing: When you “mix until smooth,” you’re looking for a uniform texture with no streaks of yogurt or large clumps of nut butter. If your nut butter is very stiff, warm it slightly so it blends easily. The optional protein powder can sometimes thicken the mix a bit; just add a splash more yogurt if it feels too stiff.
Scooping: A medium-large cookie scoop gives even bites that freeze at the same rate. If your scoop is smaller, freeze a little less or you’ll end up with more, smaller bites — which is fine for portion control.
Freezing: Don’t be tempted to shorten the first freeze. One hour ensures they’re firm enough to dip. If you live in a humid kitchen or your freezer is warm, give them a little extra time.
Melting chocolate: The goal is smooth, glossy chocolate. If using a microwave, heat in short bursts and stir in between to avoid burning. Overheated chocolate can seize; adding the coconut oil helps keep it fluid, making dipping easier.
Dipping: Work quickly so the chocolate doesn’t cool and clump. Place the dipped bites back on parchment to finish hardening. If you notice the chocolate starting to thicken, warm it briefly and continue.
Why families love this dish
There are a few simple reasons these bites become household favorites:
Familiar flavors: Cookie dough and chocolate are nearly universally loved. Kids know the taste and parents appreciate the controlled portion and simple ingredient list.
Comfort factor: These feel like a treat but aren’t fussy. They’re small, sweet, and satisfying — a dessert that doesn’t dominate an evening meal.
Kid-friendly prep: Little hands can help stir the yogurt or drop dollops on the sheet. It’s a quick activity with immediate payoff.
Versatility: The base welcomes small tweaks — add mix-ins, swap nut butters, or use different chocolate chips — without changing how you prepare them.
If you have picky eaters, keep the chocolate separate and let them dip their own at the end. Or leave out mix-ins and let kids sprinkle toppings after dipping so everyone gets what they like without multiple batches.
Pairing ideas for a complete, satisfying meal
These bites work best as the sweet note at the end of a straightforward family meal. Here are simple pairings that keep dinner fast and balanced:
Easy weeknight dinner + these bites: Think roasted chicken fingers, a simple tossed salad, and steamed green beans. The main is familiar and quick; the frozen bites finish the meal on a happy note.
Picnic or potluck: Pack a hearty pasta salad, a loaf of focaccia or crusty bread, and a container of these bites in a cooler. They’re a hit with kids and adults alike.
After-school snack spread: Serve with apple slices, a handful of nuts, and a thermos of milk or a small smoothie to round out the snack.
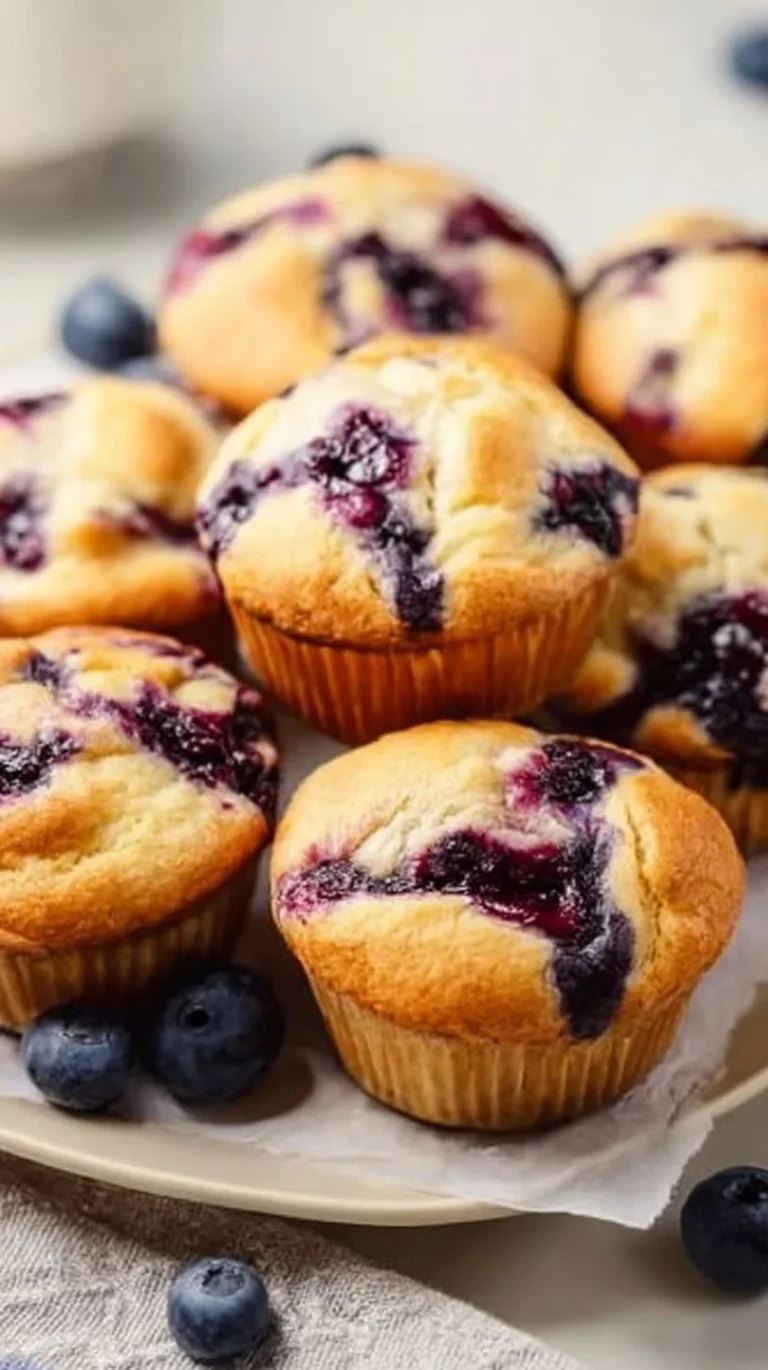
If you want a fruit-forward contrast, pair the bites with a light berry compote or some sliced strawberries — the tartness cuts through the chocolate without adding extra work. You might also enjoy ideas inspired by a fruity twist on yogurt bites I sometimes reference for seasonal pairings blueberry-swirl yogurt bites.
Make-ahead tips, leftovers, and storage
These are lovely to make ahead. Once dipped and frozen, store them in an airtight container in the freezer layered with parchment or wax paper to prevent sticking. They’ll keep well for several weeks; the chocolate may look slightly frosted over time but the flavor is still great.
To enjoy, take them out for a few minutes at room temperature to soften slightly, or enjoy them straight from the freezer for a firmer, ice-cream-like bite. If you plan to pack them in school lunches, pop them into an insulated container with a small freezer pack to keep them frozen until snack time.
Leftovers reheat? Not really needed — they’re best cold. But if you want the chocolate to soften a touch before giving to a toddler, allow a 2–3 minute rest at room temperature. Avoid microwaving, which will melt the texture and lose the intended contrast between creamy center and crisp shell.
Make more than you think you’ll need — these are easy to double and freeze. Label containers with the date so you use the oldest batch first and keep rotation simple.
Common questions home cooks ask about this recipe
Q: My bites were too soft to dip. What happened?
A: They likely didn’t freeze long enough. Make sure they’re fully solid; a full hour (or a little longer) in a cold freezer is key before dipping.
Q: My chocolate seized while melting. Any quick fix?
A: If the chocolate looks grainy, add a small spoonful of coconut oil and stir over low heat; it should smooth back out. Heat gently in short bursts if using the microwave.
Q: Can I substitute different nut butters?
A: Yes — cashew butter is listed, but almond, peanut, or sunflower seed butter works. The flavor and firmness can vary, so choose one you like and expect slight texture differences.
Q: How do I scale this up for a party?
A: Double or triple the ingredient list and work in batches for scooping and dipping. You can freeze extra scooped dollops and dip them in rounds if you’re short on counter space.
Q: Will these stick together in the container?
A: Layer them with parchment between sheets to prevent sticking. That keeps presentation tidy and makes grabbing a few easy.
These are the practical questions I hear most, and the answers tend to reassure busy cooks that the recipe is forgiving — a few small adjustments get you to success.
Final thoughts from Sarah
This recipe is the kind of small joy I love keeping on rotation — simple to make, popular with kids, and flexible enough to fit different weeks and moods. It’s not complicated, it’s reliable, and it gives you a homemade treat without a lot of fuss. If you enjoy quick, repeatable desserts that play nicely with family routines, these Cookie Dough Frozen Yogurt Bites deserve a spot in your freezer.
Try them with your favorite nut butter or a sprinkle of coarse salt on the chocolate for a grown-up twist. And don’t be afraid to let the kids be part of the process — scooping and decorating are easy, low-stress ways to involve them.
Warmly,
Sarah Collins
Conclusion
If you’d like another take on a cookie dough-style frozen yogurt treat, here’s a lovely write-up from a popular home baker at Amy’s Healthy Baking that offers a slightly different perspective. For a step-by-step photo guide and variations you can try, see the approachable version at Cookie Dough Frozen Yogurt Bites – Sam Does Her Best. If you’re curious about a nutrition-savvy take with practical tips, Joy Bauer’s version is a helpful reference: Cookie Dough Frozen Yogurt Bites – Joy Bauer.
Cookie Dough Frozen Yogurt Bites
Ingredients
Method
- Combine the non-dairy yogurt, protein powder (if using), cashew butter, vanilla, and maple syrup in a bowl until smooth.
- Scoop the mixture onto a parchment-lined baking sheet and freeze for at least 1 hour, or until completely solid.
- Melt together chocolate chips and coconut oil until smooth. Dip each frozen yogurt bite into the melted chocolate to coat.
- Return to the baking sheet and freeze for at least another 30 minutes until the chocolate has hardened.