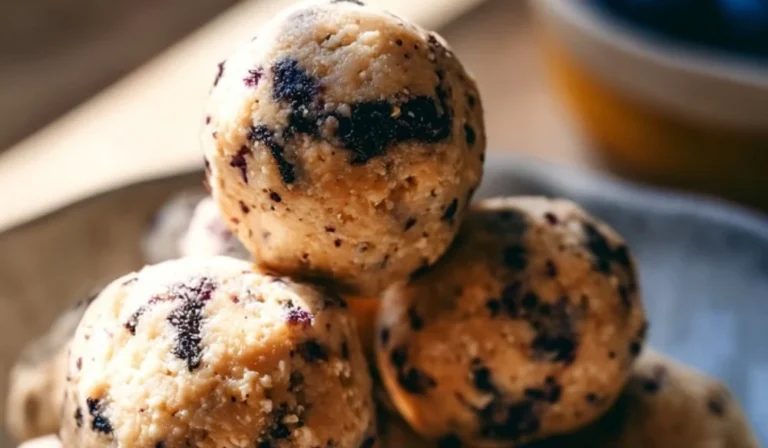
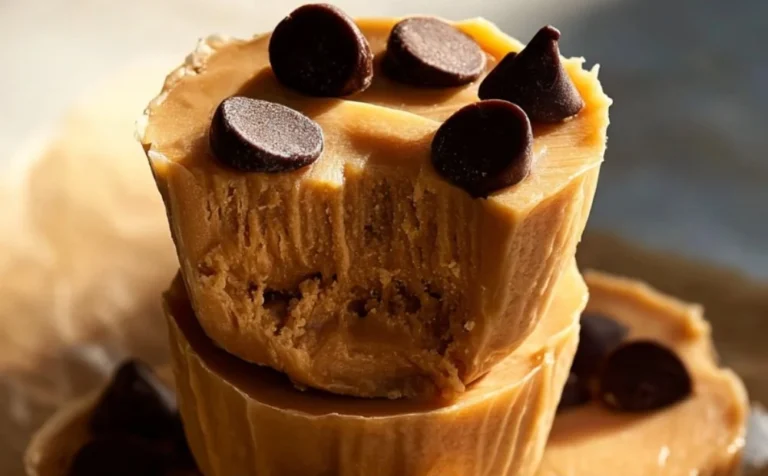
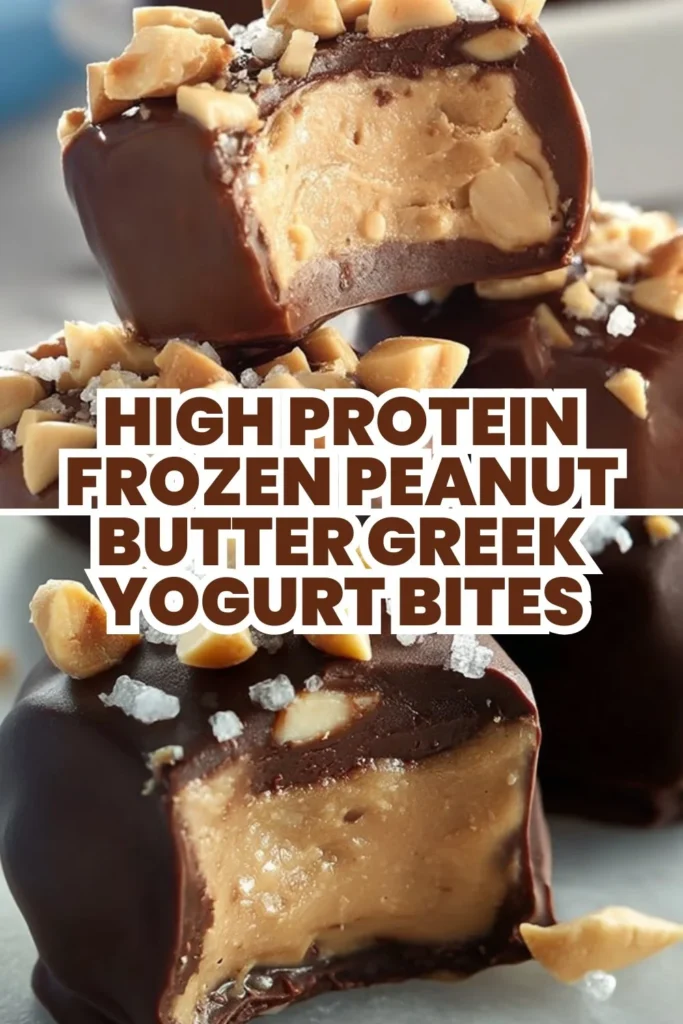
High Protein Frozen Peanut Butter Greek Yogurt Bites
Introduction
Hi — I’m Carla Carter, founder and recipe developer at RecipesCabin. This recipe for High Protein Frozen Peanut Butter Greek Yogurt Bites is for anyone who wants a simple, satisfying snack that feels a little indulgent but is grounded in real food. If you’re short on time, new to the kitchen, or just want a reliable, low-effort treat, these bites are an excellent place to start.
They’re approachable because there are only a handful of ingredients and the steps are straightforward: mix, freeze, dip, and chill. If you’ve ever worried about being fussy with measurements or afraid you’ll make a mess, this recipe is forgiving — I’ll walk you through each moment so you’ll know what to expect. If you enjoy experimenting later, you can also peek at another variation I wrote about for similar frozen snacks: frozen Greek yogurt peanut butter bites.
My goal here is to teach you what to watch for and why each step matters so you can feel calm and confident while making these High Protein Frozen Peanut Butter Greek Yogurt Bites.
Why this recipe is easy to get right
What makes this recipe forgiving is its simplicity and the way texture does most of the work for you. The mixture is thick and forgiving; it holds shape when scooped and responds well to a short freeze. There’s no baking, precise timing for rising, or delicate emulsions to manage — that removes a lot of pressure.
Flexibility shows up in places that don’t change the outcome: the exact size of each bite, a little variation in how smooth the yogurt mix is, or whether you sprinkle flaky salt on top. The important parts are texture and temperature — once you hit those checkpoints, the rest is easy. This makes the recipe suitable whether you’re new to snacks, returning to the kitchen after some time away, or simply want a stress-free treat.
How to make High Protein Frozen Peanut Butter Greek Yogurt Bites
Overall process at a glance: combine the mix, form the bites, freeze briefly to firm them, melt chocolate, dip, and chill until set. That’s it. Here’s what happens first, next, and last — and what to focus on at each stage.
- First: Mixing. You’ll bring the yogurt, powdered peanut butter, creamy peanut butter, and maple syrup together. Your aim is a smooth, uniform mixture. If you see streaks of peanut powder or bits of creamy peanut butter, keep mixing until the texture looks even and glossy.
- Next: Form and freeze. Spoon or scoop the mix into roughly even mounds on parchment. The mixture should be thick enough to hold a rounded shape — if it spreads too much, a few more minutes in the freezer will help. Freeze for the recommended 10–20 minutes until they feel firm to the touch.
- Then: Melt the chocolate. Use short bursts in the microwave and stir in between to avoid overheating. You want a smooth, pourable chocolate that will coat the frozen centers quickly. If the chocolate looks grainy, a little more stirring and a short additional burst will usually smooth it out.
- Lastly: Dip and chill. Work quickly when dipping — the frozen centers help the chocolate set fast, and then a short trip to the refrigerator finishes the job so the chocolate is fully firm without making the inside too hard.
Where beginners should slow down: when mixing and when dipping. Slow, steady mixing ensures a consistent texture. When dipping, take your time to get an even coat and use a fork or dipping tool to lift and tap off excess chocolate gently.
If you’d like to try other high-protein snack ideas after this, I also have a few savory options that use similar portioning and timing principles, like these high-protein bagel bites.
Ingredients
1/2 cup Greek yogurt (full fat), 1/4 cup powdered peanut butter, 1 tablespoon creamy peanut butter, 1/2 tablespoon maple syrup, 1/2 cup dark chocolate chips, 1 teaspoon coconut oil, Flaky sea salt for topping (optional)
Here’s what each ingredient is doing in this recipe and why none of them are complicated.
- 1/2 cup Greek yogurt (full fat): This is the base. Full-fat Greek yogurt gives richness, a creamy mouthfeel, and structure so the bites hold together once frozen. It also adds protein and a subtle tang that balances the sweetness.
- 1/4 cup powdered peanut butter: Powdered peanut butter provides peanut flavor without adding too much oil. It thickens the mixture so it scoops cleanly and gives that concentrated nutty taste without weighing the bites down.
- 1 tablespoon creamy peanut butter: This brings genuine peanut butter creaminess and a little fat to help the mixture feel indulgent. The combo of powdered and creamy peanut butter balances texture and flavor.
- 1/2 tablespoon maple syrup: A small touch of maple syrup rounds out the flavors, softening the tang of yogurt and enhancing the peanut notes. It’s just enough to sweeten without being overpowering.
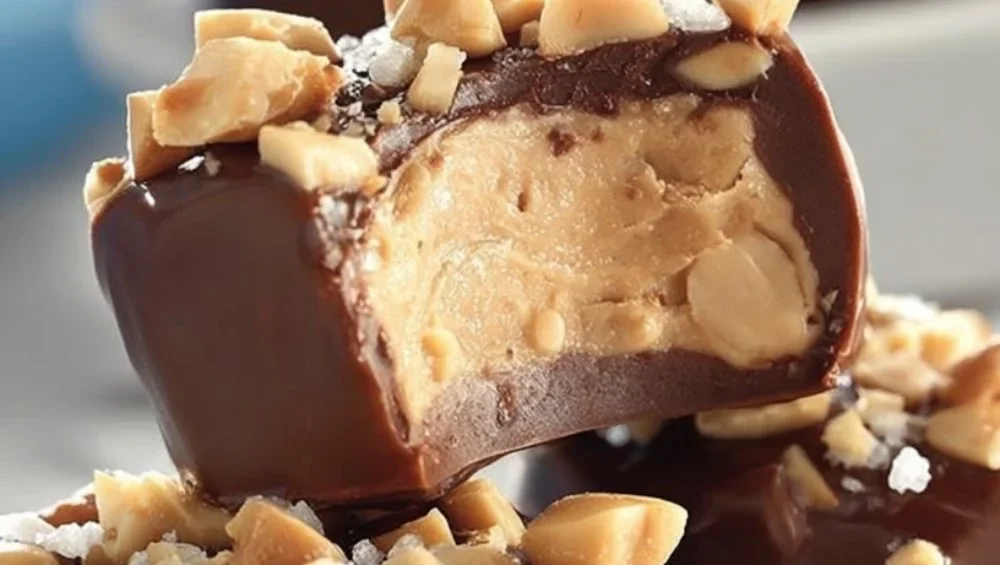
- 1/2 cup dark chocolate chips: These are for the coating. Dark chocolate gives a nice contrast to the tangy-sweet center and sets to a crisp shell.
- 1 teaspoon coconut oil: Added to the chocolate to help it melt smoothly and achieve a glossy finish when it sets.
- Flaky sea salt for topping (optional): A small sprinkle brightens the chocolate and highlights the peanut flavor. Optional, but delightful if you like that salty-sweet contrast.
If you enjoy fruity twists, some people like adding fruit swirls or mix-ins; for another fruit-forward frozen snack with a similar approach, see my take on blueberry swirl yogurt bites for inspiration. But for this recipe, keep the ingredients as listed so the balance of texture and flavor stays consistent.
Directions
In a mixing bowl, combine Greek yogurt, powdered peanut butter, creamy peanut butter, and maple syrup. Mix until smooth and well blended., Line a plate or small tray with parchment paper. Scoop the mixture into about six evenly sized bites and place them on the tray. Freeze for 10–20 minutes until firm., In a microwave-safe bowl, melt the dark chocolate chips with coconut oil in short bursts, stirring between each, until smooth., Dip each frozen yogurt bite into the melted chocolate to coat. Optionally, sprinkle flaky sea salt on top., Place the coated bites back on the tray and refrigerate for 15–20 minutes until the chocolate sets completely.
Supportive guidance around the steps:
- Mixing: Aim for a uniform, slightly thick batter. Use a small whisk or sturdy spoon and scrape the sides of the bowl. Visual cue: the mixture should look glossy and free of white streaks from the yogurt or dry clumps from the powdered peanut butter. If you see small lumps, keep stirring — they’ll generally come together in a minute or two.
- Scooping the bites: Use a spoon or small cookie scoop to get even sizes. Even sizes help the chocolate set uniformly and make serving neat. The mixture should mound and hold its shape; if it’s too soft and spills outward, give the tray a quick tap into the freezer for 2–3 minutes to firm up before reshaping.
- Freezing for 10–20 minutes: Timing depends slightly on your freezer. You’re looking for bites that feel firm at the center but not rock-hard — press the underside lightly with a fingertip (wear a mitten or use a spatula if fingers get too cold). Firmness is the checkpoint that makes dipping easy.
- Melting the chocolate: Short microwave bursts (10-15 seconds) with stirring are safer than long melts. The coconut oil thins and glosses the chocolate. Visual cue: smooth, shiny, and pourable. If the chocolate becomes thick as it cools, heat in 5-second bursts and stir.
- Dipping and topping: Work over the tray so drips fall back onto parchment. Dip quickly and tap the fork gently to remove excess chocolate. The frozen centers will set the chocolate fast — that’s your ally. If the chocolate sets unevenly, you can add a second thin coat once the first layer is firm.
- Final chill: 15–20 minutes in the refrigerator finishes the process. The chocolate should be fully firm and the center cold but still creamy. If you prefer a firmer center, a little extra time in the freezer will get you there.
If anything doesn’t look perfect, that’s okay — small imperfections like slightly uneven chocolate or imperfect roundness are normal and don’t affect taste.
Key techniques you’ll practice in this recipe
This recipe is a great micro-course in a few fundamental kitchen skills:
- Mixing to texture: Learning to see and feel when a mixture is uniform is a core kitchen sense. You’ll practice recognizing glossiness and evenness.
- Freezing to set: Understanding how cold changes texture — from soft to scoopable to firm — helps with many no-bake recipes and frozen desserts.
- Melting chocolate properly: Short bursts and stirring are basic chocolate-melting technique that prevent burning. You’ll learn how to judge smoothness and gloss.
- Dipping and tapping: Getting an even coat of chocolate and removing excess are simple skills that improve presentation without needing special tools.
These techniques apply to many other recipes — from no-bake bars to chocolate-dipped fruit — and build gentle confidence in handling both temperature and texture.
Common mistakes and how to avoid them
Here are typical hiccups and simple recoveries:
- Mistake: Mixture is too runny and won’t hold shape.
- Fix: Pop it in the freezer for a few minutes, then scoop again. The powdered peanut butter will firm up as the mix chills.
- Mistake: Chocolate seizes or becomes grainy.
- Fix: Stir continuously and add a tiny extra bit of coconut oil; use very short microwave bursts. If it looks beyond saving, gently warming it over a bowl of hot water (double boiler style) while stirring can often smooth it out.
- Mistake: Chocolate coat cracks unevenly when bitten.
- Fix: Make sure the chocolate is fully set and the center is cold but not frozen rock-hard. Refrigerating as recommended helps achieve the right balance.
- Mistake: Bites stick to parchment or crumble when moved.
- Fix: Allow the chocolate to fully set in the refrigerator and use a thin spatula to lift them gently from the parchment.
If something goes off track, small fixes typically rescue the batch — you don’t need to start over. That’s the beauty of these simple bites.
How to adjust confidently without changing the recipe
While I won’t change the ingredients or steps, here’s how to think about adjustments so you can be confident when scaling or tweaking flavors conceptually:
- Portion scaling concepts: Doubling everything is straightforward — use a larger bowl and more tray space. Keep freezing and chilling times similar; larger batches may require slightly more time in both freeze and fridge but the process is the same.
- Flavor preference adjustments: If you prefer a sweeter center, you would conceptually add a touch more sweetener; if you love salty-sweet, increase the flaky sea salt on top. These are conceptual suggestions — follow the original ingredient list to keep balance.
- Texture tweaks — conceptually only: Want a softer center? A slightly shorter freeze before dipping will keep the interior creamier. Want a firmer bite? Allow more time in the freezer before dipping, then finish in the fridge.
The key is to make small, thoughtful changes and observe how they affect texture and setting. Little adjustments teach you how ingredients interact without risking the whole recipe.
Serving, storage, and reheating made simple
Serving: These bites are best served cold or just slightly softened at room temperature for a minute so the chocolate isn’t super hard. Arrange them on a small plate and finish with a light sprinkle of flaky sea salt if you used it.
Storage: Store in an airtight container in the refrigerator for up to several days; they’ll keep well chilled and perfect for snacks. For longer storage, place them in the freezer (single layer separated by parchment) and pull out a few as needed. If stored frozen, allow a couple of minutes at room temperature before eating so the interior is pleasant and not ice-cold. For ideas on how to build a simple make-ahead breakfast plan using the same timing ideas, see these high-protein breakfast burritos.
Reheating: These aren’t meant to be reheated in the conventional sense. If you take them from the freezer, let them sit for 1–3 minutes at room temperature before enjoying. Avoid microwaving — it will melt the chocolate unevenly.
Questions new cooks often ask about this recipe
- How long will these keep? Stored in the fridge, they keep several days; in the freezer, they last longer and can be thawed briefly before eating.
- Do I need special tools? No. A bowl, spoon, small tray, parchment paper, and a microwave-safe bowl are all you need.
- Is it normal if the chocolate thickens quickly? Yes — if it cools, give it short gentle reheating bursts. Work quickly while dipping.
- What if my bites are different sizes? That’s fine; just expect slightly different set times for different sizes. Uniform bites set more evenly, but a little variation is normal.
- Can I make them ahead for a party? Yes — make them the day before and keep chilled until serving. They’re portable and well-suited for simple gatherings.
If you find yourself worried about a step, pause and look for the visual cues I mention — glossy mix, firm but not rock-hard centers, and smooth chocolate — and you’ll be guided to success.
Final encouragement from Carla
You don’t need perfect tools or perfect pacing to make something tasty. The act of trying builds the skills that make the next recipe easier. These High Protein Frozen Peanut Butter Greek Yogurt Bites are designed to be kind to beginners while still feeling like a special treat. Take your time with the first batch, notice the textures and temperatures, and know that small imperfections are part of the process and won’t stop these from tasting great.
Keep cooking. Each recipe you try is a step forward — and I’m excited for you to enjoy these bites and the confidence they bring.
Conclusion
If you’d like to explore similar treats, this Peanut Butter Yogurt Bites recipe offers a different take on yogurt-based clusters, while this Peanut Butter Greek Yogurt Bites Recipe shares another straightforward approach to frozen yogurt bites. For a chocolate-forward variation that mixes banana and peanut butter flavors, try this Chocolate Peanut Butter Banana Frozen Greek Yogurt Bites.
High Protein Frozen Peanut Butter Greek Yogurt Bites
Ingredients
Method
- In a mixing bowl, combine Greek yogurt, powdered peanut butter, creamy peanut butter, and maple syrup.
- Mix until smooth and well blended.
- Line a plate or small tray with parchment paper.
- Scoop the mixture into about six evenly sized bites and place them on the tray.
- Freeze for 10–20 minutes until firm.
- In a microwave-safe bowl, melt the dark chocolate chips with coconut oil in short bursts, stirring between each, until smooth.
- Dip each frozen yogurt bite into the melted chocolate to coat.
- Optionally, sprinkle flaky sea salt on top.
- Place the coated bites back on the tray and refrigerate for 15–20 minutes until the chocolate sets completely.