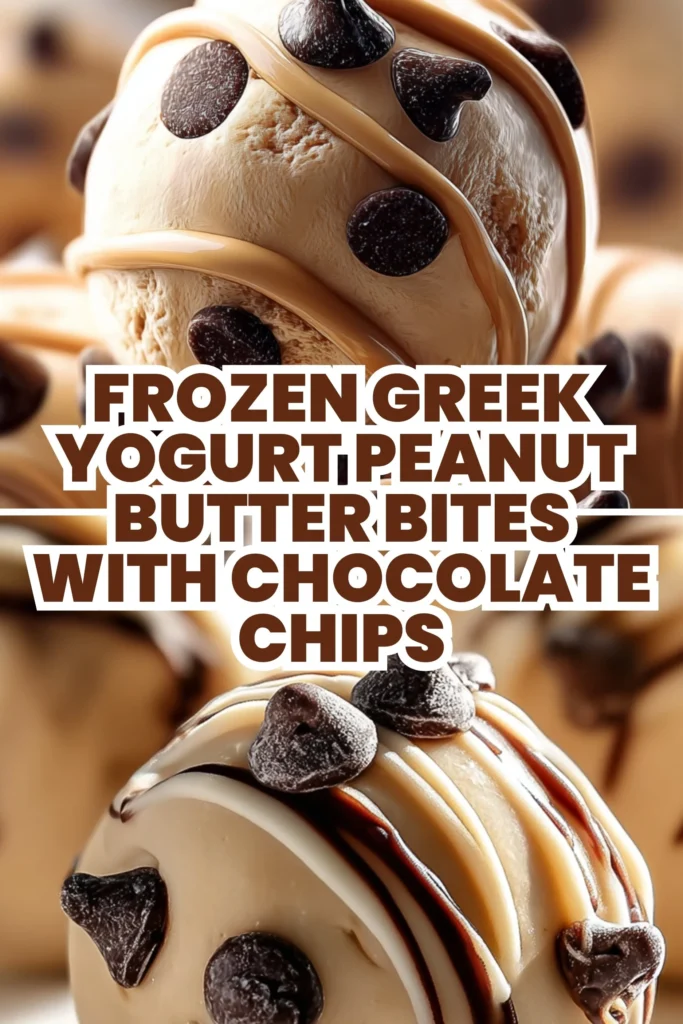
Frozen Greek Yogurt Peanut Butter Bites with Chocolate Chips
Introduction
Hi, I’m Sarah Collins. If your weeknights look anything like mine — a juggling act of activities, homework, and hungry kids — you’ll appreciate recipes that are simple, reliable, and a little bit comforting. Frozen Greek Yogurt Peanut Butter Bites with Chocolate Chips are exactly that: a bite-sized treat that feels a bit indulgent, but is straightforward enough to make while you’re helping with math homework or packing lunches.
This recipe works because it leans on a few familiar flavors that most families already love: creamy Greek yogurt, the comforting nuttiness of peanut butter, and little pockets of chocolate. It’s one of those recipes I reach for when I want something quick to satisfy a sweet tooth without a lot of fuss — and it’s especially handy for warm afternoons, after-school snacks, or a small dessert after a busy dinner. If you like ideas for other simple make-ahead bites, I also enjoy comparing different flavor combinations like the frozen yogurt recipe I used as a starting point in this frozen yogurt bites post.
You don’t need special equipment or a lot of time, and it plays well with real family schedules: make a batch on Sunday, keep them in the freezer, and you’ve got an easy snack that disappears quickly at my house. I’ll walk you through what to expect, where shortcuts are safe, and how to get consistently good results even if you’re not a practiced baker or snack-maker.
How to make Frozen Greek Yogurt Peanut Butter Bites with Chocolate Chips
This is a reassuringly short process, which is part of the appeal. Expect three main stages: mixing, portioning, and freezing. Mixing is the only part that needs a little attention — you want a smooth, uniform texture so the bites freeze nicely and aren’t overly icy. If you’re new to this kind of no-bake snack, slow down while you stir the yogurt and peanut butter together so the mixture is well combined and creamy.
Portioning is where you can be creative: spoon-sized drops are the classic approach, but you can use small silicone molds for uniform shapes if you prefer. Lining the tray with parchment is a tiny step that saves time later and prevents sticking, so it’s worth doing even when you’re rushing.
Freezing is hands-off, but plan for at least an hour or two. While the bites chill, you can finish dinner, clean up, or help with homework. The final step — transferring them to an airtight container — keeps them ready for the week. If you want a visual cue as you go, the mixture will look glossy and hold its shape when scooped; the finished bites should be solid and slightly firm when you press them with a finger.
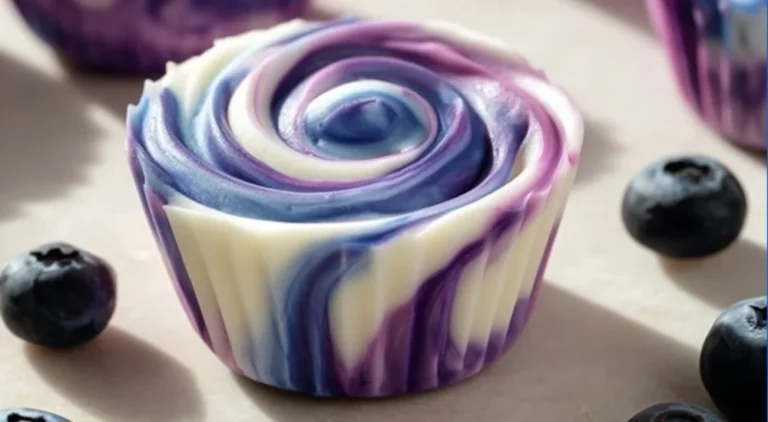
I find it comforting that this recipe doesn’t require precise timing beyond the freezing stage. It’s flexible, and that’s helpful when real life interrupts a plan. If you want an idea for different taste profiles while keeping the same easy method, try other flavors like berry or banana using similar frozen-bite techniques seen in my go-to Blueberry Swirl Yogurt Bites reference for inspiration.
Ingredients
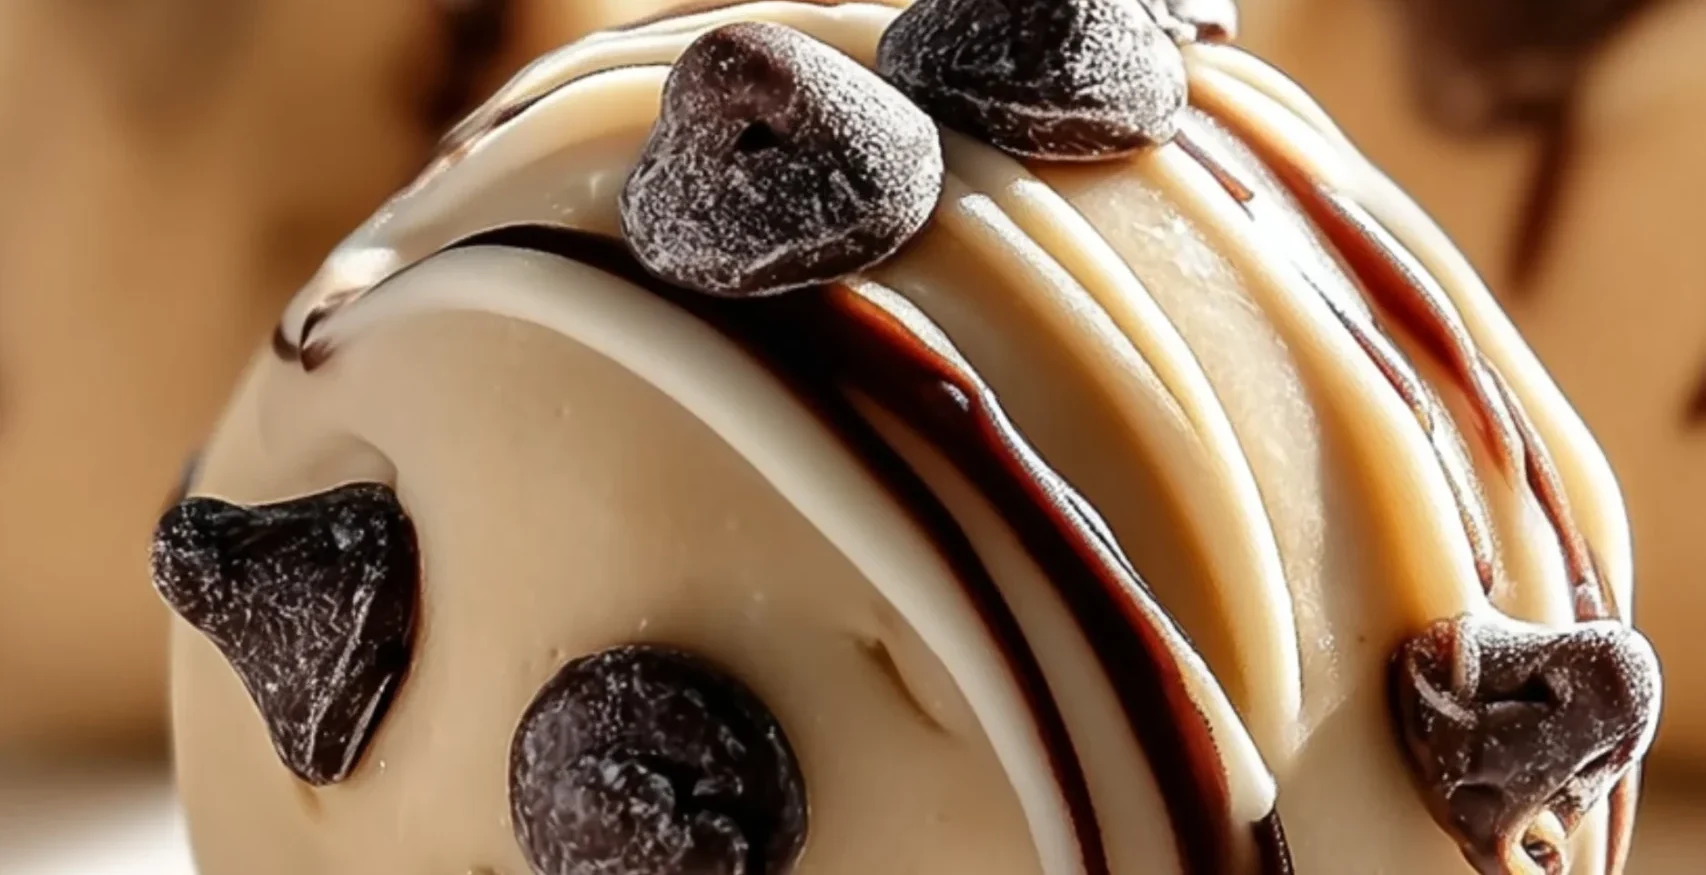
1 cup Greek yogurt, 1/2 cup peanut butter, 1/4 cup chocolate chips, 2 tablespoons honey (optional)
Each ingredient here plays a clear role. The Greek yogurt is the base — it gives creaminess and body so the bites freeze into a pleasant, slightly tangy interior rather than turning to a clear block of ice. Peanut butter adds richness, flavor, and fat that help the texture stay satisfying even straight from the freezer. Chocolate chips are the fun bit: small pockets of sweetness that kids love and that melt slightly against the tongue. Honey is optional, but for families who prefer a slightly sweeter bite it blends in evenly and keeps the texture smooth.
These are all common pantry staples for most households, which is part of why this recipe is so handy. You don’t need to make a special grocery run. If you’re serving this for a group, it’s easy to scale up — just keep the ratios in mind so the texture stays balanced.
Directions
- In a mixing bowl, combine Greek yogurt and peanut butter until smooth., 2. Stir in chocolate chips and honey if using., 3. Line a baking sheet with parchment paper., 4. Using a spoon, drop bite-sized portions of the mixture onto the prepared baking sheet., 5. Freeze for at least 1-2 hours until solid., 6. Once frozen, transfer bites to an airtight container and store in the freezer. Enjoy your guilt-free treat!
A few practical notes on those steps: when you combine the Greek yogurt and peanut butter, you’re looking for a uniform, glossy mixture with no streaks. Take an extra 30 seconds to scrape the bowl so you don’t end up with pockets of yogurt or clumps of peanut butter. That small bit of patience pays off when you scoop — the bites will hold together better.
Stirring in the chocolate chips is forgiving. If you’re using slightly larger chips or mini chips, either works fine; mini chips distribute more evenly so nearly every bite has a bit of chocolate. Lining the pan with parchment (step 3) is a tiny, time-saving step: it prevents sticking and makes cleanup quicker, which is always appreciated when you’re trying to keep the kitchen tidy.
When dropping portions (step 4), think small — about a teaspoon to a tablespoon per bite depending on how decadent you want them. Keep the bites similar in size so they freeze at the same rate. For families with little ones, spooning is a fun job for kids and a good way to get them involved without a lot of mess.
Freezing time (step 5) depends a bit on your freezer; 1–2 hours is a reliable window. If you’re in a hurry, a shallower tray will freeze faster. Once frozen, transferring to an airtight container (step 6) prevents freezer burn and lets you bring out just what you need. A tip: place a piece of parchment between layers if you stack them so they don’t clump together.
Why families love this dish
Families often reach for snacks that are familiar, quick, and not a lot of fuss. These bites check all those boxes. They taste like familiar flavors — peanut butter and chocolate — so there’s rarely a picky-eater revolt. The texture is approachable: creamy and slightly firm from the freeze, not hard like an ice cube. Kids love the bite-sized format, and adults appreciate that they don’t require a lot of added sugar or complicated steps.
These bites are also versatile in the way they fit into daily life. They work as an afternoon pick-me-up, a small dessert after dinner, or a hand-held snack for a quick energy boost before activities. They’re portion-controlled without being stingy, which helps when you want to offer a treat without going overboard.
Another reason they make the rotation here is consistency. The recipe is hard to mess up — that’s a big plus when evenings are full of interruptions. You’re unlikely to overbake, under-season, or end up with a soggy mess. It’s reliable, and for most busy households, that reliability is the real comfort.
Smart substitutions and simple variations
Keeping the original ingredients is recommended if you want the same texture and flavor, but there are a few family-friendly swaps that still keep the recipe dependable. If someone in the family prefers a milder nut flavor, a smooth almond butter can work in the same way as peanut butter — it will change the taste but not the process. Swap chocolate chip types (mini chips for a more even spread of chocolate) without changing any steps.
For picky eaters who don’t like visible chocolate chips, stirring in a small amount of melted chocolate to make the mixture uniformly chocolatey is a quiet tweak that keeps the format the same. If you’re serving toddlers, you can make slightly smaller, flatter bites so they’re easier to handle. Always keep in mind the texture: adding too much liquid (like extra yogurt or honey) can make the mixture harder to freeze well, so stick close to the ingredients list for best results.
If a family member has nut allergies, don’t attempt substitutions that aren’t tested; instead, consider making a separate batch using a seed butter that’s safe for your household. Small changes in type or size of chips, or adding a sprinkle of chopped nuts on top before freezing, are simple variations that let you customize without adding fuss.
Pairing ideas for a complete, satisfying meal
While these bites often stand alone as a snack or dessert, they can be part of a simple, balanced family meal. Pair them with a quick protein-forward main like turkey or chicken wraps and an easy green salad to round out textures and flavors. In our house, I’ll make a simple wrap — sometimes the fuss-free wrap from my favorite recipe for the best BLT wraps — and serve a few yogurt bites alongside for dessert because they feel like a treat without a long cleanup. If you’re feeding children who prefer finger foods, serve the bites with sliced fruit, carrot sticks, or a small bowl of whole-grain crackers to keep things balanced and satisfying.
For a lighter afternoon snack, pair the bites with apple slices and a handful of nuts, or add a cup of warm milk for a comforting finish. The goal is to combine these sweet bites with something a bit filling so they make a more complete mini-meal for hungry kids after activities.
Make-ahead tips, leftovers, and storage
This recipe is tailor-made for make-ahead convenience. Once frozen and transferred to an airtight container, the bites keep really well in the freezer for several weeks. I recommend storing them in a single layer or with parchment between layers to prevent sticking, and keeping the container toward the back of the freezer where the temperature is most consistent.
To use, pull out a handful and let them sit at room temperature for a few minutes if you want them slightly softer, or pop them directly into a lunchbox in a small insulated container with an ice pack for transport. They don’t need reheating — in fact, that’s part of the charm — but if you prefer them softer, a 10–15 second microwave nudge will warm them up without losing the texture, depending on your microwave.
If you’re scaling the recipe up for a crowd, do it in batches so the portioning stage remains quick and neat. A larger batch freezes well, but you’ll save time and keep the bites more uniform if you fill trays in manageable portions. For more make-ahead inspiration and tricks to keep your freezer snacks organized, I often refer back to friendly meal-prep guides like the tidy pack ideas in this best BLT wraps with secret sauce resource for how to pair quick mains and freezer-ready sides.
Common questions home cooks ask about this recipe
Timing: How long should I freeze? Give them at least 1–2 hours. The exact time depends on your freezer, so plan for that window. Texture: If your bites taste icy or watery, the mixture may have had too much liquid or wasn’t fully combined; stirring well and keeping the yogurt-to-peanut-butter ratio consistent fixes that. Scaling: Double or triple the recipe easily — just mix in a bigger bowl and portion onto multiple sheets. Make-it-again confidence: This is a forgiving recipe. If a batch doesn’t firm up as expected, pop them back into the freezer and check again in 30 minutes; usually a little extra time does the trick.
Safety note for young children: if you’re serving very young kids, be mindful of choking hazards with any small treats and supervise as needed. For homes with allergies, keep separate batches labeled clearly and store them in separate containers.
Final thoughts from Sarah
This recipe earns a spot in the rotation because it’s easy, dependable, and genuinely liked by both kids and adults. The steps are simple, the ingredients are familiar, and you can get a batch made during the bustle of an evening routine. It’s the kind of recipe that wastes no time but gives a little moment of treat and comfort — perfect for busy families.
If you make these, I hope they become one of your go-to snacks for those in-between moments when you want something sweet and simple. Enjoy the rhythm of a no-fuss recipe that still feels like a small celebration at the end of a busy day.
Conclusion
If you’d like to see a close variation with banana and chocolate notes, this Chocolate Peanut Butter Banana Frozen Greek Yogurt Bites recipe is a nice companion to try once you’ve mastered the base method. For another take on the peanut-butter-and-yogurt format with slightly different tips and proportions, check out this Peanut Butter Greek Yogurt Bites Recipe for extra inspiration.
Frozen Greek Yogurt Peanut Butter Bites
Ingredients
Method
- In a mixing bowl, combine Greek yogurt and peanut butter until smooth.
- Stir in chocolate chips and honey if using.
- Line a baking sheet with parchment paper.
- Using a spoon, drop bite-sized portions of the mixture onto the prepared baking sheet.
- Freeze for at least 1-2 hours until solid.
- Once frozen, transfer bites to an airtight container and store in the freezer.